Browned Butter Chocolate Chip Cookie Bars
Brown butter milk chocolate blondies that taste like a warm hug in bar form

Bold claim: these gooey, chewy blondies make your house smell like a bakery and your people act like you’re a dessert wizard.
There’s just something about brown butter that turns a simple treat into a head‑turning “who made this?!” dessert. It’s nutty, toasty, and absolutely magical when it meets melty milk chocolate chips. Add a soft, fudgy center with shiny, crackly tops and you’ve got the kind of blondie that teleports straight from pan to legend. These bars are weeknight‑easy, bake‑sale‑ready, and holiday‑approved. Also: one bowl for the wet mix, one bowl for the dry, and a whole lot of happy in between.
If you’re new to browning butter, don’t stress. I’ll walk you through the golden speckle moment, the swirl, and the “pull it now!” timing so you get all the flavor without any burnt bits. Ready to up-level your blondie game?
If you’re new to browning butter, don’t stress. I’ll walk you through the golden speckle moment, the swirl, and the “pull it now!” timing so you get all the flavor without any burnt bits. Ready to up-level your blondie game?
The kids were asking for chocolate chip cookies and I didn’t want to roll them into balls and wait for them all to bake. I decided to bake them all at once. Who can honestly turn down browned butter. If you’re going to have butter in it, it may as well be browned. It gives it a nutty, almost caramel flavor.
These bars were a hit and my little sister loved them so much she hid the rest of the pan so no one would eat them.

Browned Butter Chocolate Chip Cookie Bars
Ingredients
- 1 cup salted butter
- 1 1/2 cups light brown sugar, loosely packed
- 2 eggs, lightly beaten
- 1 tablespoon vanilla extract
- 2 cups all-purpose flour
- ½ teaspoon baking soda
- ½ teaspoon salt
- 1 1/2 cups milk chocolate chips
Directions
- Preheat:
- Set oven: 350°F. Grease a 9×13‑inch baking dish or line with parchment.
- Whisk dry:
- Combine: In a small bowl, whisk flour, baking soda, and salt; set aside.
- Brown the butter:
- Melt & toast: Add butter to a skillet over medium heat. Cook, stirring occasionally, until it foams, then the foam subsides and golden brown specks appear on the bottom, 5–7 minutes.
- Pull early: Turn off heat the moment you see amber bits; keep stirring 30 seconds. Transfer to a large heat‑safe bowl and cool 8–10 minutes until just warm.
- Mix wet:
- Sugar + butter: Whisk brown sugar into the warm (not hot) brown butter until glossy and smooth.
- Add eggs: Whisk in eggs one at a time until fully combined.
- Flavor: Stir in vanilla.
- Bring it together:
- Fold: Use a spoon or spatula to stir in dry ingredients until almost combined—streaks of flour are okay.
- Chocolate: Fold in milk chocolate chips just until evenly dispersed.
- Bake:
- Pan it: Press the thick batter evenly into the prepared dish.
- Time: Bake 25–30 minutes, until the top is golden brown, edges are set, and a toothpick poked in the center comes out with moist crumbs (not wet batter).
- Cool & slice:
- Set: Cool completely in the pan for clean edges.
- Slice: Lift by the parchment and cut into squares. Bask in compliments.
Calorie count and nutritional facts
These are estimates based on common ingredient data. Actual values vary by brand and portion size.
- Pan yield: 9×13‑inch pan
- Suggested portions: 24 squares
| Nutrient | Per square (1/24 pan) |
|---|---|
| Calories | ~230 |
| Total fat | ~12 g |
| Saturated fat | ~7 g |
| Carbohydrates | ~28 g |
| Total sugars | ~20 g |
| Protein | ~2.5 g |
| Sodium | ~120 mg |
| Fiber | ~0.5 g |
Note: Slice into 20 bars for a bakery‑style size (~275–290 calories each) or 32 mini bites for party platters (~170 calories each).

Browned Butter Chocolate Chip Cookie Bars
Cooking tips for gooey‑chewy perfection
- Watch the brown butter:
- Visual cues: First it melts, then foams, then you’ll see clear golden butter with toasty brown specks. Pull it right there.
- Smell test: It should smell nutty and caramel‑y, never burnt. If it turns dark quickly, your heat was too high—reduce next time.
- Cool the butter just enough:
- Why: If it’s too hot, it can scramble the eggs and melt the chips prematurely. Aim for warm, not hot, about 8–10 minutes.
- Whisk like you mean it:
- Goal: The brown butter + sugar should be glossy and cohesive before adding eggs. This helps with that shiny, crinkly top.
- Don’t overmix the flour:
- Method: Fold just until the flour disappears; overmixing builds gluten and makes tough bars.
- Oven accuracy matters:
- Check early: Start checking at 23 minutes; every oven is a little different.
- Done vs. overdone: You want moist crumbs on the tester. Dry tester = cakey blondies.
- Clean slices:
- Cool completely: Patience pays off. Wipe the knife between cuts for bakery‑clean edges.
- Warm‑knife trick: Dip a long knife in hot water, wipe dry, then slice.
- Pan choices:
- Metal vs. glass: Metal pans brown edges faster. Glass runs hotter and may need a couple extra minutes.
Recipe variations to keep it fun
- Salted caramel swirl:
- Add: Dollop 1/3 cup thick caramel sauce over the batter and swirl. Finish with flaky sea salt.
- Peanut butter party:
- Swap: Replace 1/2 cup chips with peanut butter chips. Warm 1/4 cup peanut butter and swirl over the top.
- Toffee crunch blondies:
- Stir‑in: 1/2 cup toffee bits + 1 cup milk chocolate chips for buttery crunch.
- Espresso buzz:
- Boost: Dissolve 1–2 teaspoons instant espresso in the vanilla for mocha vibes that balance the sweetness.
- Triple chocolate moment:
- Mix: Combine 1/2 cup each milk, semi‑sweet, and white chips for a candy‑shop bite.
- Nutty brown butter blondies:
- Texture: Fold in 3/4 cup chopped toasted pecans or walnuts.
- Berry nice:
- Pop: Add 3/4 cup freeze‑dried raspberries (not fresh) for tart pops that love milk chocolate.
- Holiday spice:
- Warmth: Whisk 1/2 teaspoon cinnamon and a pinch of nutmeg into the flour.
- Gluten‑free friendly:
- Swap: Use a 1:1 gluten‑free all‑purpose blend. Brown butter keeps the flavor big.
- Skillet blondies:
- Bake: Press batter into a buttered 10‑inch cast iron and bake 22–26 minutes. Serve warm with ice cream.
Kid tip
- Little helpers, big pride:
- Jobs: Counting and measuring chips, whisking the dry ingredients, and smoothing the batter in the pan with a spatula.
- Science moment: Show them the butter color change and let them sniff the nutty aroma—tiny foodies in training!
- Custom squares: After cooling, let kids sprinkle a pinch of rainbow sprinkles or a drizzle of melted chocolate on “their” row.
Bonus fun: Rename them “Golden Treasure Bars” and hide a few mini M&M “gems” in half the batch.
Grocery hacks
- Brown sugar on a budget:
- DIY: Mix 1 cup granulated sugar with 1 tablespoon molasses for light brown sugar in a pinch.
- Butter buy smart:
- Bulk: Stock up during sales and freeze sticks for up to 9 months. Thaws fast on the counter.
- Chocolate chip wins:
- Blocks > bags: Chop a bar of milk chocolate to mix with chips—those irregular chunks create dreamy pockets.
- Vanilla value:
- Extract vs. paste: If you have vanilla bean paste, use 2 teaspoons—it adds beautiful flecks and big flavor.
- Parchment perfection:
- Pre‑cut: Keep a stack of 9×13 parchment sheets on hand—worth every penny for easy release and clean pans.
- Flour freshness:
- Storage: Keep flour in an airtight container. If it’s been sitting awhile, give it a quick whisk to aerate before measuring.
Make‑ahead, storing, and serving ideas
- Make‑ahead:
- Day before: Bake, cool, and cover the whole slab. Slice the next day for the cleanest cuts and best chew.
- Storing:
- Room temp: Airtight container up to 3 days (they actually get chewier on day 2).
- Fridge: Up to 1 week; bring to room temp for best texture.
- Freezer: Wrap tightly and freeze up to 2 months. Thaw at room temp; they’re fabulous.
- Serving:
- A la mode: Warm square + vanilla ice cream + drizzle of warm caramel = dessert mic drop.
- Party platter: Cut into bite‑size pieces and add to a dessert board with strawberries and pretzels.
- Lunchbox love: Wrap individually in parchment for easy grab‑and‑go treats.
Troubleshooting
- Greasy top:
- Cause: Butter too hot when mixing, or under‑measured flour.
- Fix: Cool butter longer next time; ensure you’re using the full 2 cups of flour (spoon & level).
- Dry/crumbly bars:
- Cause: Overbaked.
- Fix: Pull when the center is just set with moist crumbs on a tester. Try reducing bake time by 2–3 minutes.
- Sinking center:
- Cause: Underbaked or too much leavening (double‑check the 1/2 tsp baking soda).
- Fix: Bake until edges are set and center no longer jiggles.
- Chocolate sinkage:
- Cause: Chips added when batter was very warm.
- Fix: Let the butter mixture cool enough before mixing in chips.
Nutrition tweaks (without losing the magic)
- Dial the sweetness:
- Adjust: Reduce brown sugar to 1 1/4 cups for a slightly less sweet bar; bake time may shorten a touch.
- Fiber bump:
- Swap: Replace 1/3 cup all‑purpose flour with fine oat flour. Texture stays plush, flavor gets a cozy boost.
- Dark chocolate detour:
- Option: Use semi‑sweet or 60–70% dark chips for deeper flavor and a little less sugar per bite.
- Add nuts:
- Balance: Pecans or walnuts add satisfying crunch and a bit of protein.
Final thoughts
These brown butter milk chocolate blondies are that sweet spot between nostalgic and elevated—the treat you whip up on a whim that somehow tastes like you planned ahead. The browned butter delivers bakery‑level depth, the milk chocolate brings creamy pockets of joy, and the texture lands perfectly between chewy and soft. They’re unfussy, universally adored, and the kind of recipe you’ll memorize after a bake or two.
Bake them for the bake sale. Bring them to the potluck. Slice them tiny for a dessert board or cut them bakery‑big and serve warm with ice cream. However you share them, just make sure to stash one (okay, two) for yourself.
Cue the parchment, preheat the oven, and get ready for your kitchen to smell like caramel heaven. These are the blondies that turn “just dessert” into a full‑on moment—easy to make, impossible to resist, and absolutely worthy of a permanent spot in your recipe box. If you bake them, tag me and tell me your favorite twist: team salted caramel, team toffee crunch, or team classic all the way?
Until next time—keep it buttery, keep it melty, and keep it fun.
XOXO,
Did you try our Browned Butter Chocolate Chip Cookie Bars? What did you think? Did you love it? We would love to hear from you! Please leave us a comment below or tag us on Instagram!
LET’S HEAR IT FOR COOKIES!
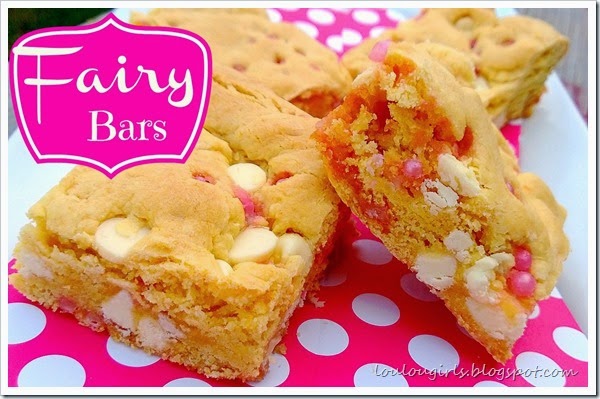
I have the perfect fairy dust cookie bars recipe for any little girl’s birthday, baby shower, or brunch with a faerie theme or whimsical idea. These fairy bread cookies are the perfect addition to any party.
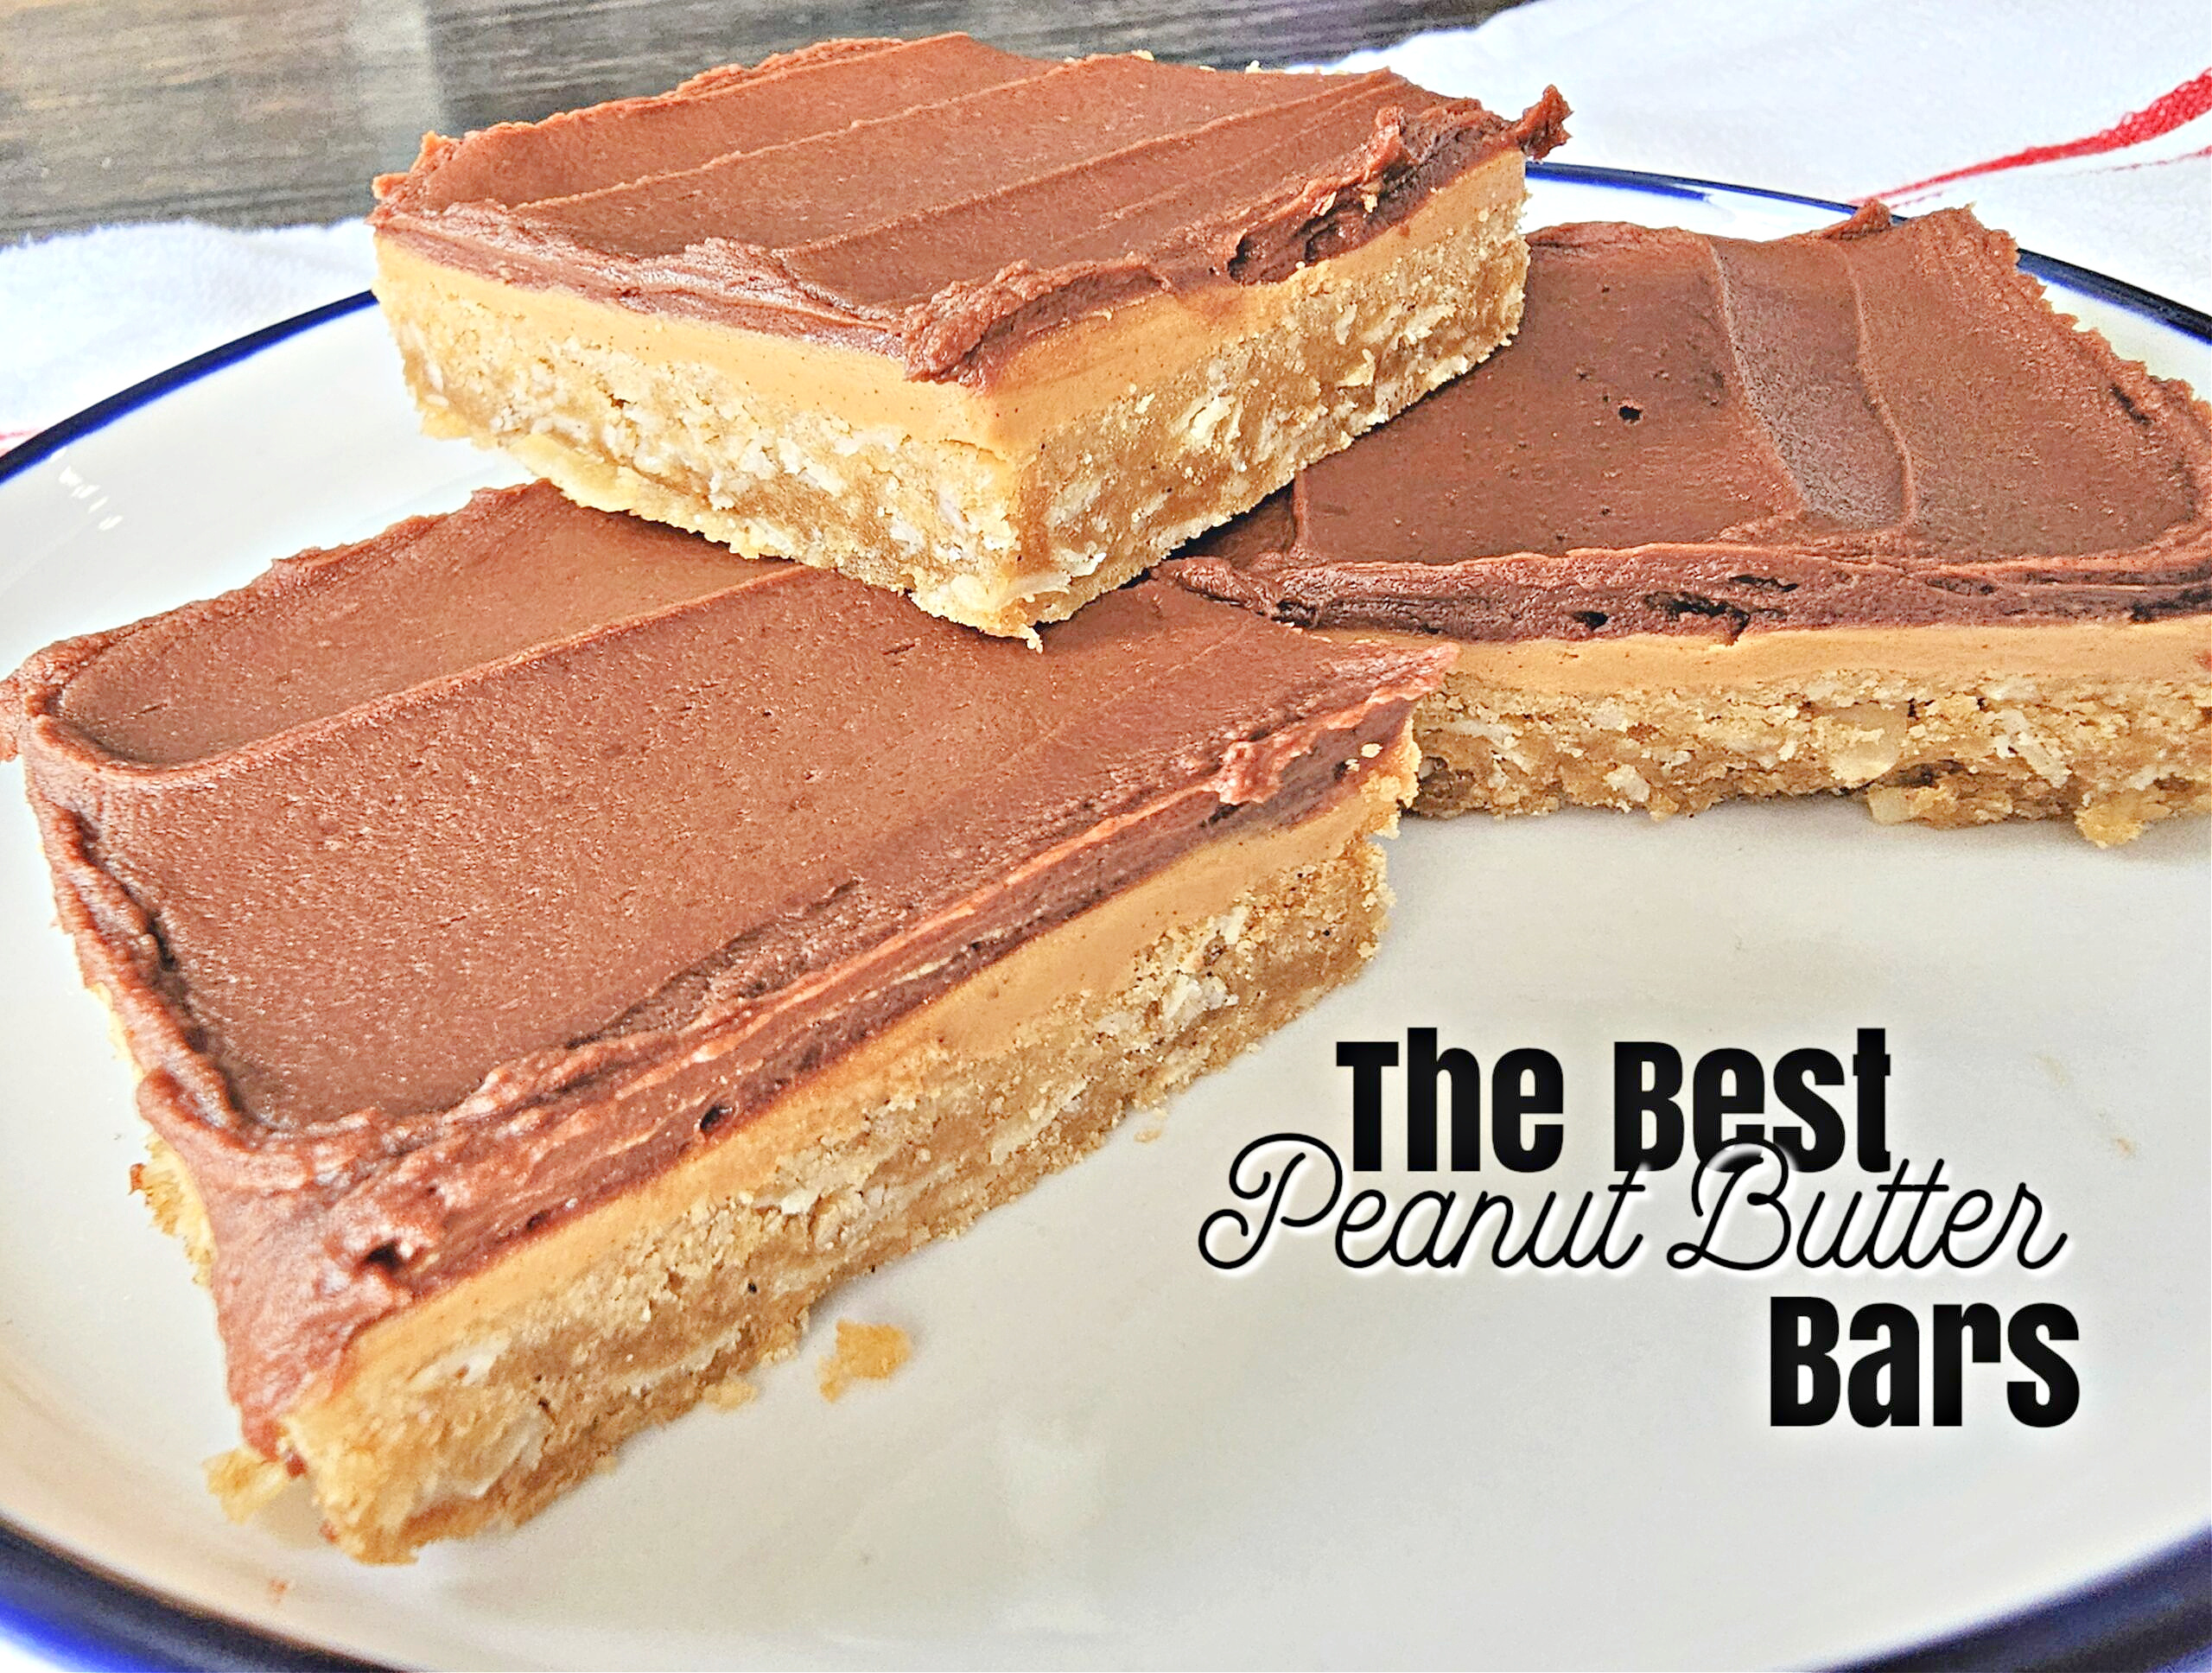
These are the best peanut butter bars ever. When craving a treat these are the perfect thing!
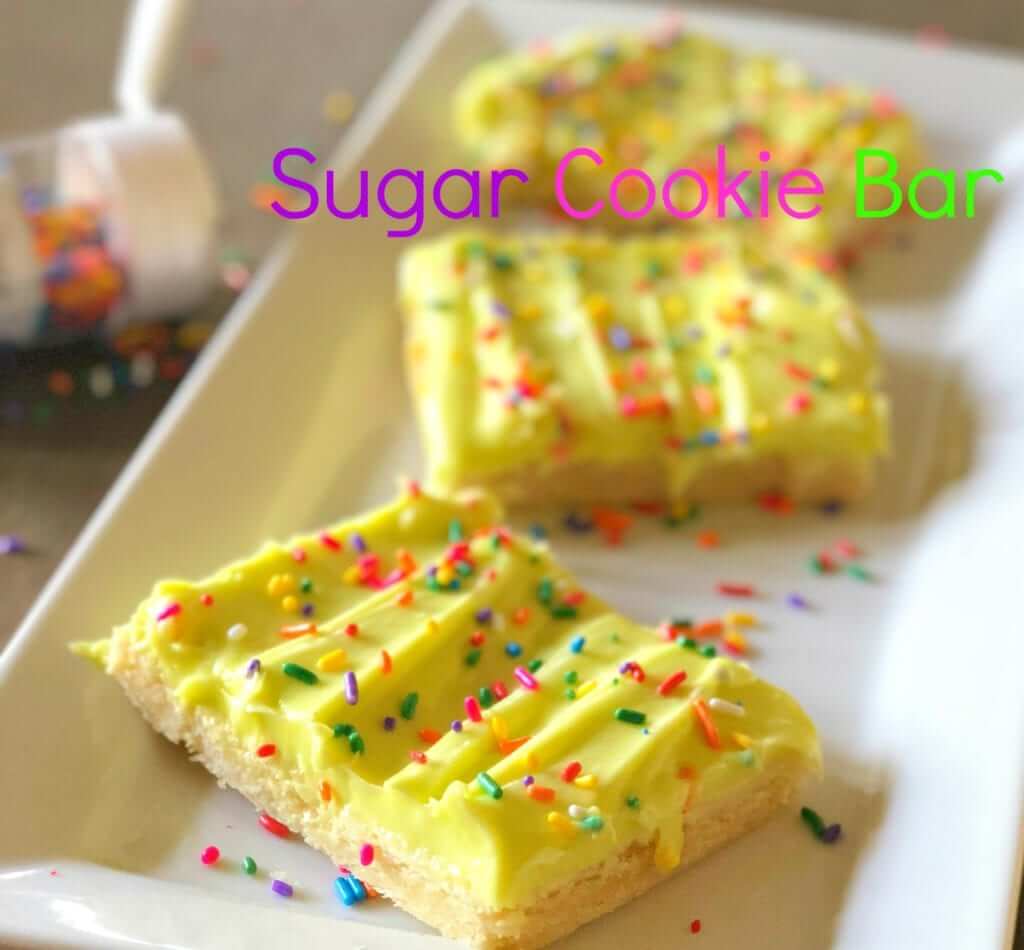
Sugar Cookie Bar! We are a big fan of the sugar cookie and we make them for every special occasion and any ordinary day.
It was a no-brainer to make a sugar cookie bar. They are so delicious and easy to make. Seriously, I made these last night and they are gone this morning!
 Your Closest CHEERLEADERS!
 We are your big sisters , cheerleaders , and confidence boosters in building a happy home. We are the Lou Lou Girls!


These look SO yummy! Adding them to my baking schedule for next week (4th of July at the lake). Thank you!
THANK YOU!