🔥 Directions
-
Preheat oven to 400°F.
-
Slice potatoes as thin as humanly possible. (Thinner = crispier.)
-
Place potato slices into a bowl and pour vinegar over them.
-
Let soak for 1 hour to absorb all that tangy goodness.
-
Drain potatoes and pat completely dry with paper towels. (This step matters!)
-
Line a baking sheet with foil and spray generously with Pam.
-
Arrange potatoes in a single layer—no overlapping.
-
Spray tops lightly with Pam and sprinkle with sea salt.
-
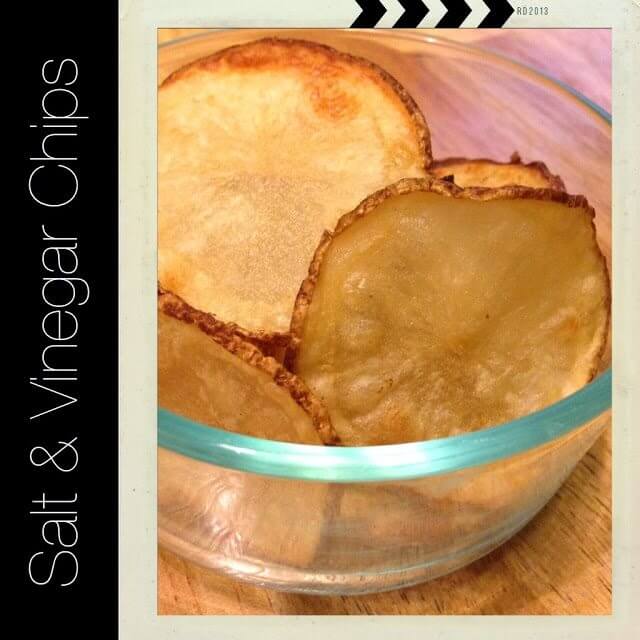
Bake for 15–20 minutes, flipping once if needed, until golden and crispy.
Let cool slightly (if you can wait). Crunch responsibly.
🔢 Calorie Count (Approximate)
Per serving (about 1 cup):
Snack victory unlocked.
🧬 Nutritional Facts (Estimated)
Proof that chips can still bring something to the table.
👩🍳 Cooking Tips for Maximum Crunch
-
Slice evenly for consistent baking
-
Dry potatoes thoroughly
-
Don’t overcrowd the pan
-
Rotate pans halfway through
-
Let chips cool—they crisp more as they sit
👉 Reader prompt: Do you eat chips straight off the pan… or pretend you’re patient?
🔄 Recipe Variations (Because Options Are Everything)
-
Extra Vinegar Kick: Add a second soak
-
Malt Vinegar Chips: Swap vinegars
-
Garlic Salt Version: Add garlic powder
-
Spicy Vinegar Chips: Sprinkle chili flakes
-
Air Fryer Method: 375°F for 10–12 minutes
Choose your crunch adventure.
🧒 Kid Tips (Yes, Kids Will Eat These)
Snack diplomacy matters.
🛒 Grocery Hacks (Smart Snacking Wins)
Chips with a plan.
🎯 READERS CHALLENGE
This week’s Lou Lou Girls challenge:
👉 Serve these chips to someone who says they “don’t like vinegar.”
Bonus points if:
You’ve been warned.
♻️ Leftover Remix (If Any Survive)
-
Crush over salads
-
Add to sandwiches
-
Use as soup toppers
-
Re-crisp in oven
Leftovers, leveled up.
💬 Final Thoughts
These Homemade Salt and Vinegar Chips are proof that snacks don’t need to be complicated to be unforgettable. They’re bold, crunchy, and wildly satisfying in that “how are these so simple?” kind of way.
There’s something deeply satisfying about making your own version of a snack you already love. It’s not about being fancy or reinventing the wheel—it’s about taking control of flavor, texture, and that perfect bite. These Homemade Salt and Vinegar Chips do exactly that.
They remind us that the best recipes often start with the basics. A potato. Some vinegar. A little salt. And suddenly, you’ve got a snack that feels intentional, homemade, and just a little bit impressive. The kind of snack that makes you pause between bites and think, “Yep. This was worth it.”
They’re also the kind of recipe that fits real life. No special equipment. No weird ingredients. Just a straightforward method that delivers every single time. Whether you’re making them for yourself, your family, or a room full of snack critics, they hold their own.
And sure, your kitchen might smell like vinegar for a bit—but honestly? That’s the scent of bold choices and excellent snacks. Light a candle later. It’s fine.
So the next time you’re craving something crunchy, salty, and sharp in all the right ways, skip the bag and grab a couple of potatoes. These chips are waiting—and once you make them, you might never go back.
From our Lou Lou Girls kitchen to yours—may your chips be crispy, your vinegar be fearless, and your snacks always worth the crunch. 🥔✨

 Your Closest CHEERLEADERS!
 We are your big sisters , cheerleaders , and confidence boosters in building a happy home. We are the Lou Lou Girls!


Stopping in from Showcase Your Talent!
I am such a sucker for Salt & Vinegar chips – never thought to make them myself. I'll definitely be trying this!
~ Lynda
Reviews, Chews & How-Tos
http://rchreviews.blogspot.com/
I hope these work out for you!! We loved them!!
Yummy, these look good. I love homemade chips so I'm definitely going to try these sometime. Glad I found you over at The Pin Junkie Party!
Marie@The Interior Frugalista
Wow! Those seem really easy to make and without all the extra ingredients you find in the bag kind.
I can't wait to try these.
Christina@ http://www.mytwinladybugs.com
Love salt and vinegar chips. I'll have to give this a try. Seen on Thank Goodness It's Thur. Blog Party.
These look so good – we love homemade chips but I have never tried them. Stopping by from Thank Goodness It's Thursday.
We will just love these chips and there is no doubt that we will sure eat more than one! Thanks so much for sharing your awesome post with Full Plate Thursday and hope you have a great week!
Come Back Soon!
Miz Helen
Thanks ladies for the invite. This time I'm Linking up my chicken coop chandelier!
Wow these sound delicious and they are probably way better for you than store bought since you don't fry them in oil! Thanks for the recipe 😉