DIY Toddler Kite: The Cutest (and Easiest) Outdoor Craft Your Little Ones Will Love
This is a quick and easy DIY toddler kite that will provide a lot of fun on a windy day!
Because sometimes the best childhood memories start with paper, ribbon, and a little bit of wind.
Let’s talk about one of the most magical combinations in childhood:
Kids + crafts + the outdoors.
It’s the trifecta of parenting wins.
Because if there’s one thing we all know, it’s that little kids have approximately 12 seconds of attention span unless something is colorful, creative, and slightly chaotic.
Enter the humble kite.
Simple. Colorful. Wind-powered joy.
And the best part?
You don’t need a fancy store-bought kite to enjoy the magic of watching something soar into the sky. You can actually make a simple kite at home using just a few craft supplies like cardstock, string, and ribbon.
Yes, really.
This DIY Toddler Kite craft is quick, inexpensive, and ridiculously fun for little hands. It’s one of those activities that checks every parenting box:
✔ creative
✔ educational
✔ inexpensive
✔ outdoor-friendly
✔ toddler-approved
Plus it gives kids the chance to decorate something that actually moves and flies, which instantly makes them feel like tiny engineering geniuses.
And let’s be honest… any craft that ends with kids running around outside burning off energy?
We love that for everyone.
Today we’re diving into the wonderfully simple world of toddler kite crafting — a fun project that’s perfect for spring, summer, windy afternoons, homeschool activities, or those days when the kids announce they’re bored for the 47th time.
We’ll cover:
-
how to make a toddler-friendly kite
-
what materials work best
-
fun decorating ideas
-
tips for flying your homemade kite
-
and ways to turn this craft into an entire afternoon adventure
Plus we’ll sprinkle in our favorite Lou Lou Girls style: playful prompts, mom-life commentary, and ideas to make this activity even more fun for your family.
So grab your craft supplies, gather the kiddos, and let’s make a kite that’s ready to take flight.
Because nothing says childhood magic quite like watching something you made yourself dance in the wind.
Why DIY Crafts for Toddlers Are Pure Parenting Gold
Before we even get into the kite tutorial, let’s take a moment to appreciate something important:
Toddler crafts are not just about the craft.
They’re about the experience.
When toddlers create something with their hands, they’re developing skills like:
-
creativity
-
hand-eye coordination
-
fine motor skills
-
problem solving
-
imagination
Even simple activities like coloring or folding paper help strengthen coordination and cognitive development.
But here’s the real secret:
Kids also love crafts because they give them ownership.
When a child makes something themselves, they’re proud of it.
They show it off.
They talk about it.
They feel accomplished.
And if that craft also flies in the wind?
Well.
That’s basically toddler-level superhero engineering.
What Makes This DIY Toddler Kite So Perfect
There are approximately one million kid crafts floating around the internet.
Some of them are adorable.
Some of them are… ambitious.
And some of them require so many materials you wonder if you accidentally signed up to build a small airplane.
This toddler kite is the opposite.
It’s simple.
Fast.
And uses supplies you probably already have at home.
The original tutorial uses basic items like cardstock, markers, ribbon, string, a hole punch, and a stapler to create a lightweight kite toddlers can decorate themselves.
That’s it.
No woodworking.
No complicated instructions.
No engineering degree required.
Just creativity and a little bit of wind.
My 3-year-old is terrified of wind right now so I am trying to do everything I can to get him to enjoy the wind.
We made this kite the other day and he held the end of the string from inside the house and let it fly outside which, believe it or not, was major progress! It was really quick and easy and kite to make and perfect for a toddler!
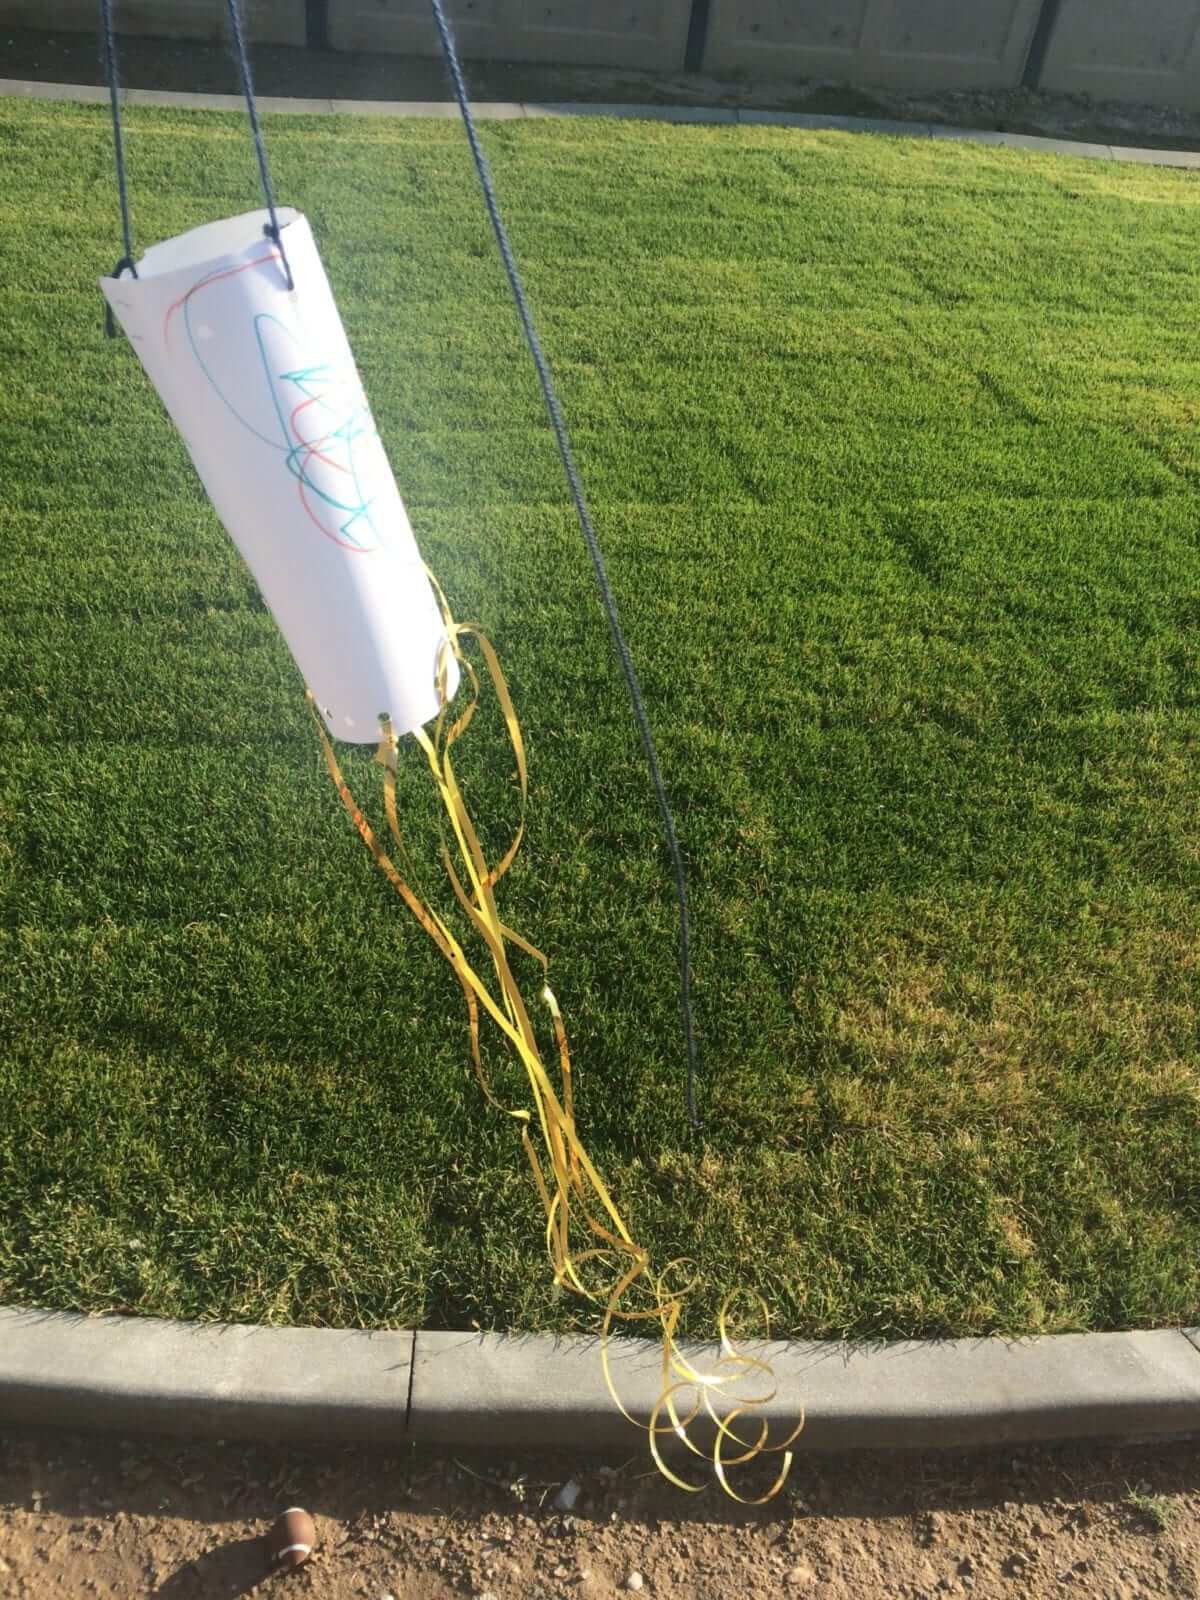
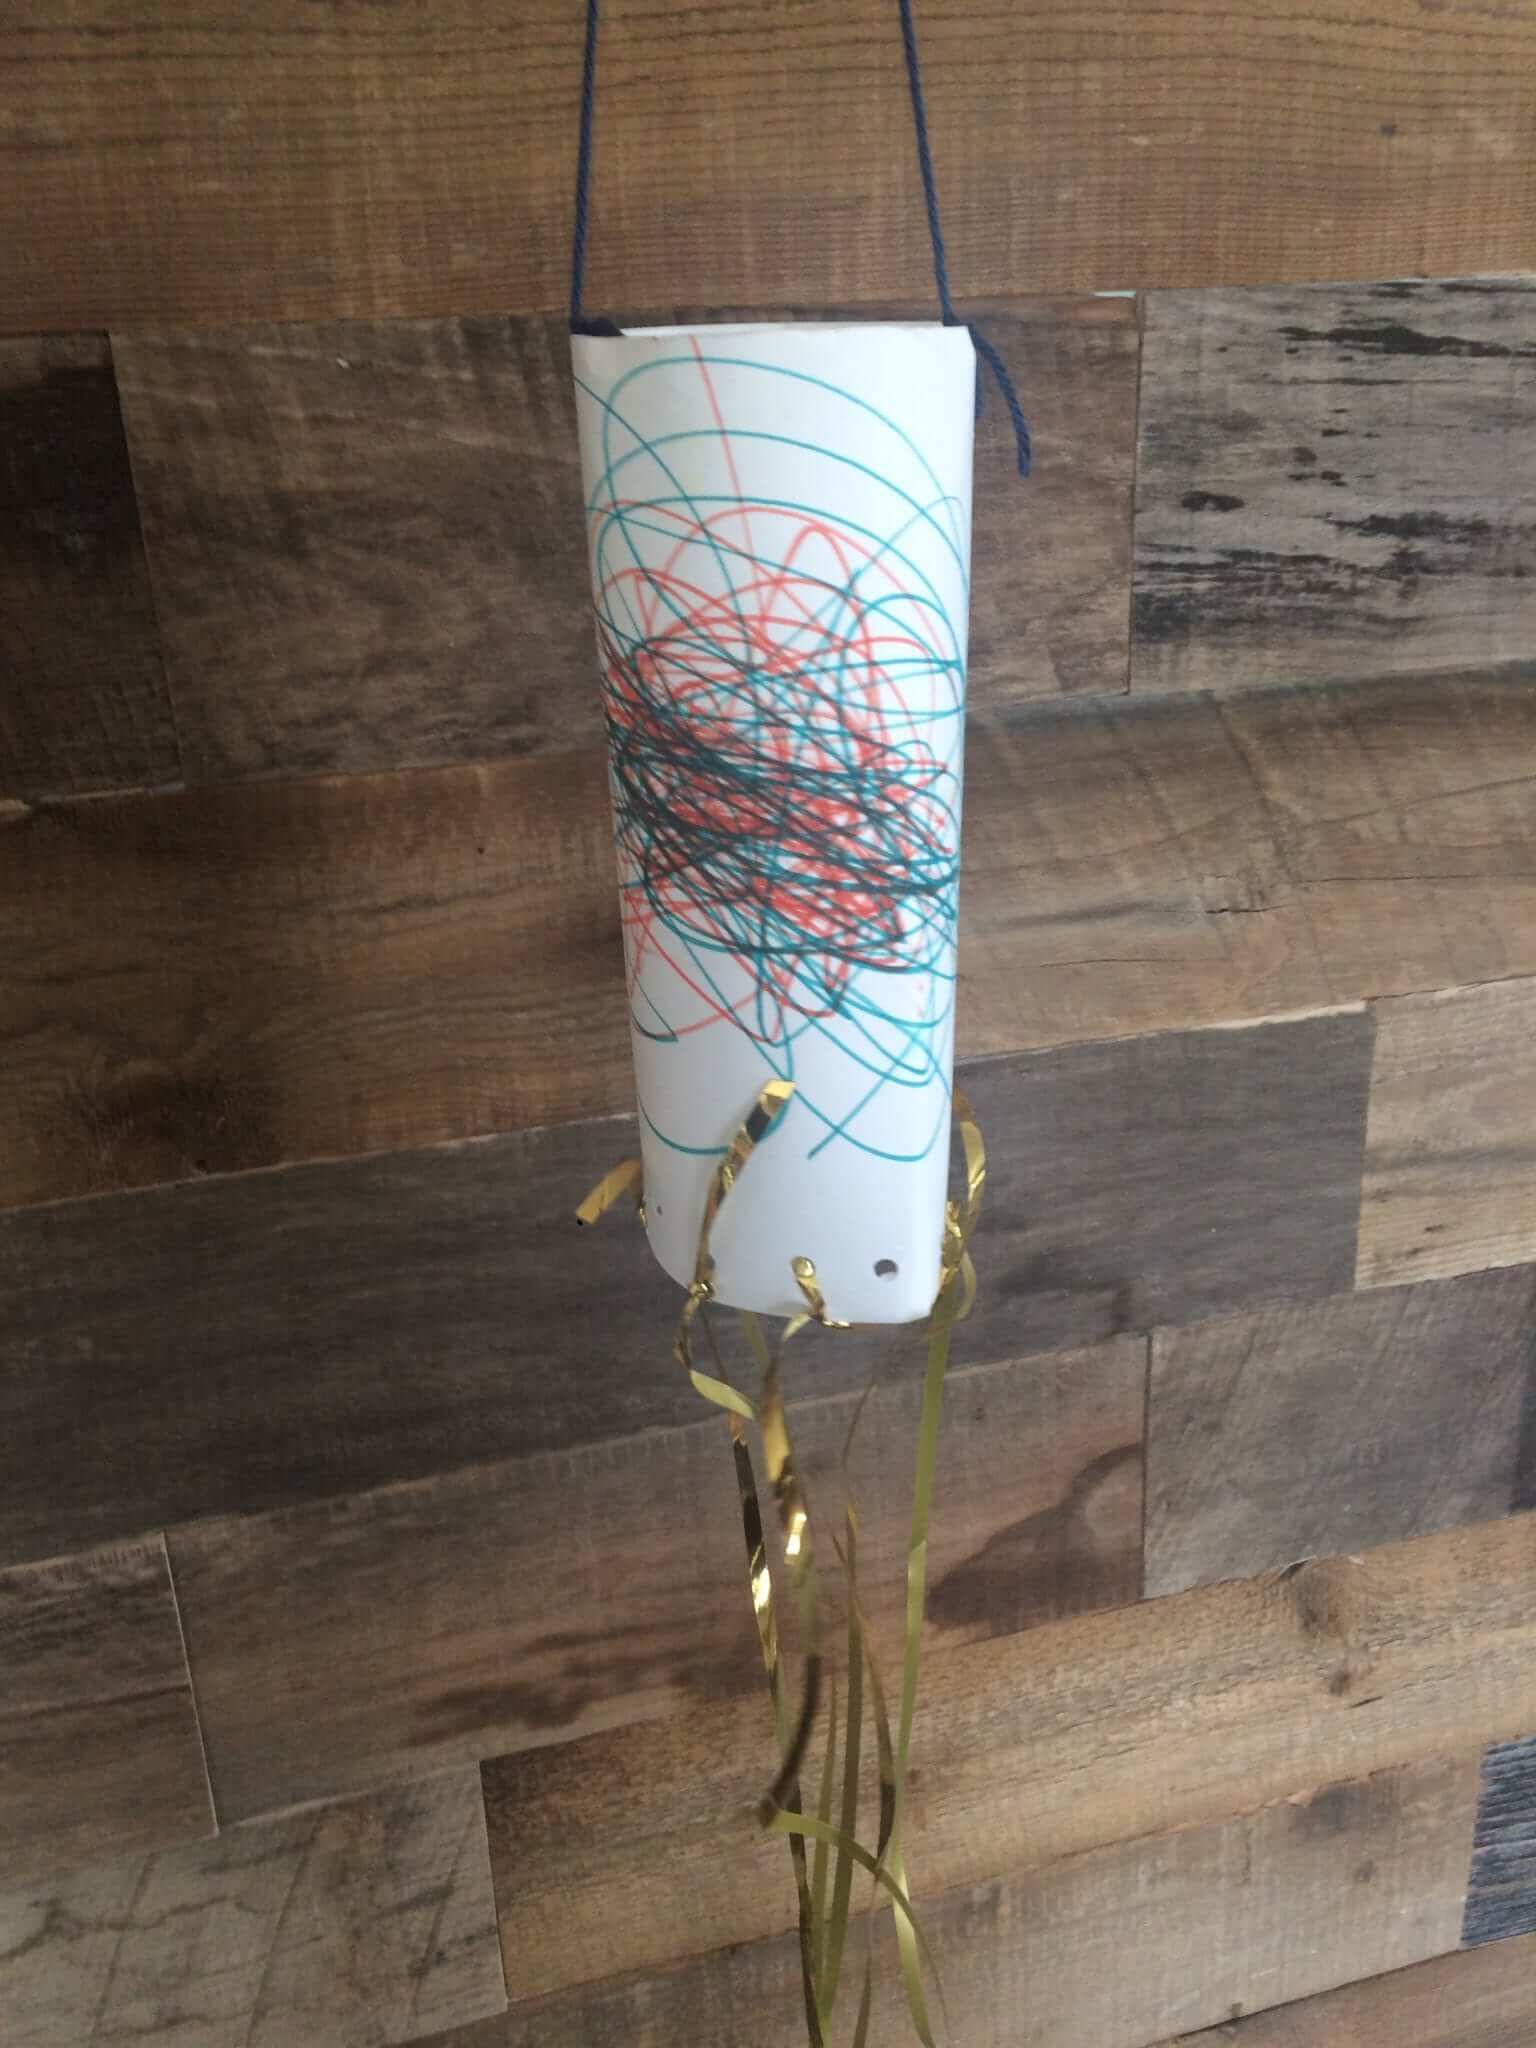
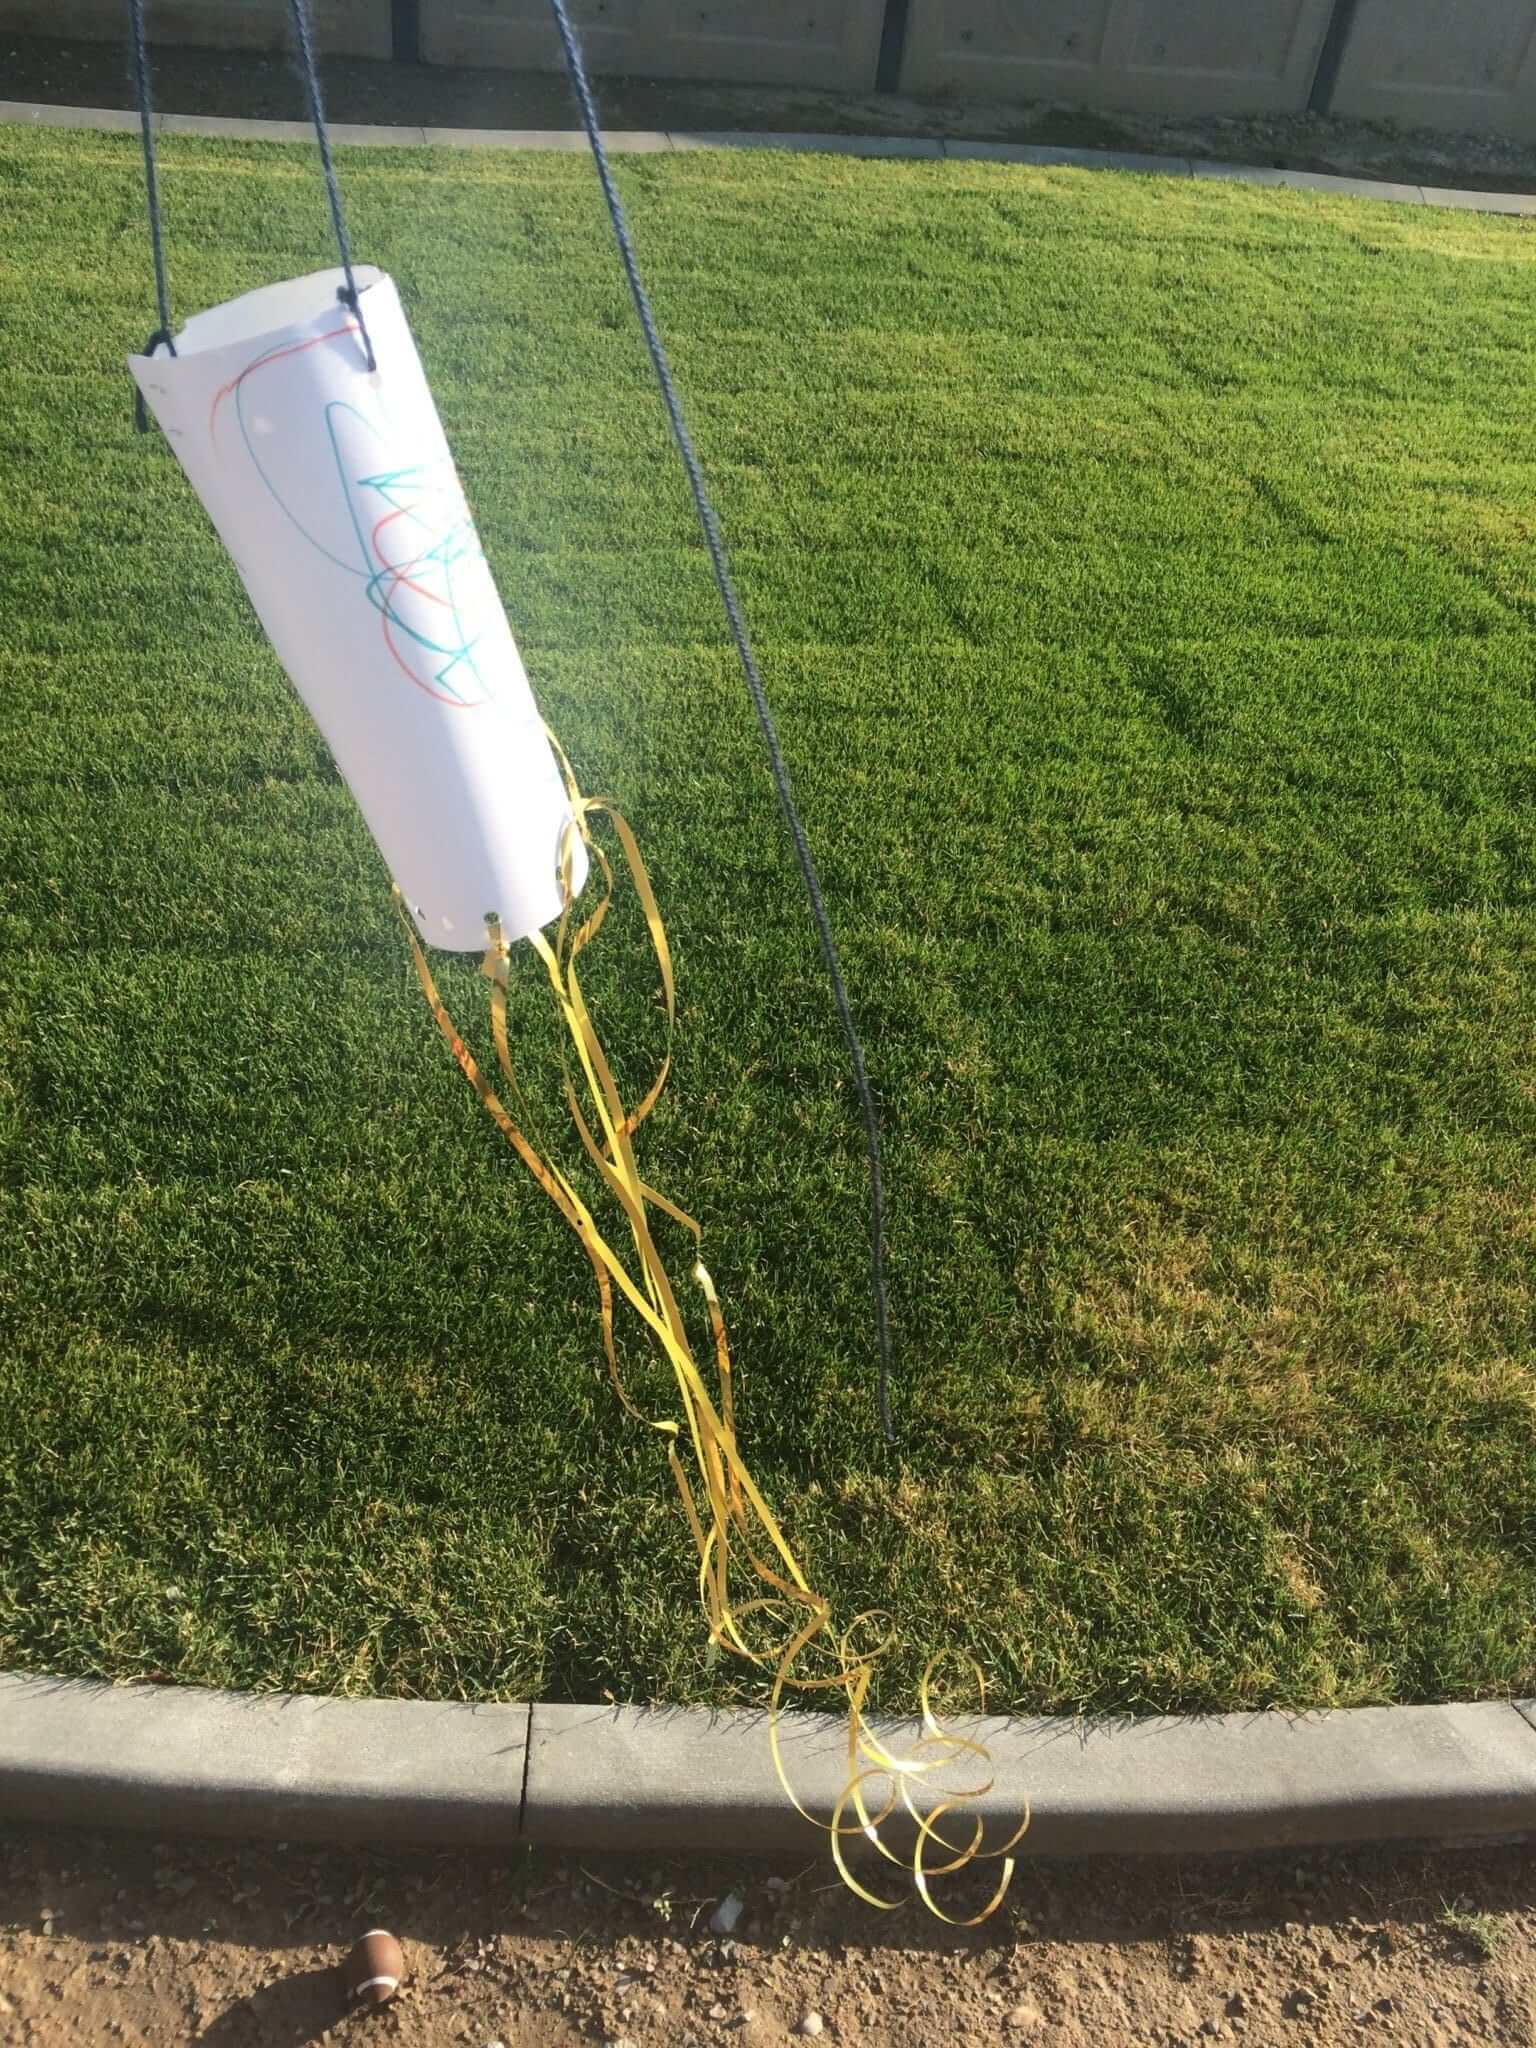
DIY toddler kite
WHAT YOU NEED:
String
Ribbon
Cardstock
Markers
Hole Punch
Stapler
INSTRUCTIONS:
- Have your little one color the cardstock for the kite.
- Fold the cardstock into a circular shape and staple it together.
- hole punch one end and attach the ribbons through each hole.
- hole punch two holes in the other end and attach the kite string.
- Enjoy your toddler kite on a windy day!
 Your Closest CHEERLEADERS!
 We are your big sisters , cheerleaders , and confidence boosters in building a happy home. We are the Lou Lou Girls!


