Fireplace Mantel Love!
Life is funny, you think you have a home that you wouldn’t change a thing about it and then people around you, open your eyes and you find out that you are just settling for average when things could be so much better! I love my little house and it’s been good to us. Our family has lived here for about 20 years. We have always done our own home improvement projects and again I thought we were doing an awesome job until my kids started to get married and their spouses are such amazing handy people.
We have had the opportunity to give our fireplace some love and boy did it need it! At first, I thought we would do a simple job and then my eyes were opened to so many possibilities!
Our home was built in the early ’80s and it has its own personality! For example, our fireplace is uneven. There is more brick on the one side of the front of the fireplace. A couple of years ago, I tried to stain the mantel a richer color and I painted the brick and it did improve the look but wasn’t fabulous. This is why we started on the quest to give our fireplace some love!
We started by looking online for ideas that we could do to improve the look and then we drew up a plan of what we wanted to do and then we went shopping! Here’s a list of what we used.
Fireplace Mantel Love
Supplies:
4 2 x 4
2 4 x 8 MBF boards
20 square feet of tile
7 10 x 13 slate tile
32 ounces gray grout
32 ounces mortar
30 6 inch cement screws
a packet of 4 expanding anchor bolts
2 sheets QEP backer board
12 ft crown molding for mantel
6 feet crown molding for accents
1 packet painters spackle
11 x 16 pine wood cove trim
1 package seam tape
3 8 foot fur strips
2 gallons of paint
Diet Coke
finish nails
wood putty
black spray paint
The great thing about a project like this that we get to hang out with our kids and enjoy their many talents! First of all, we had to remove the old brick around the fireplace that we wouldn’t be using. We used a chisel and a hammer to break it out.
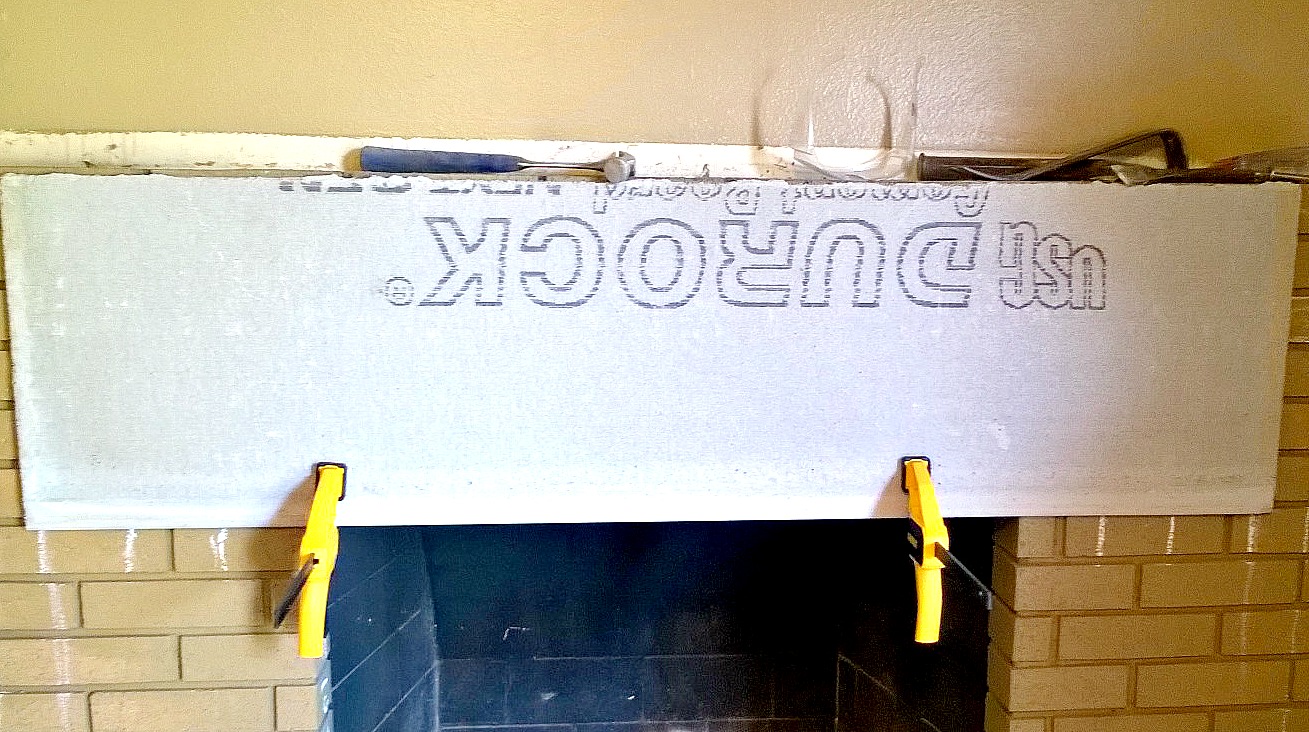
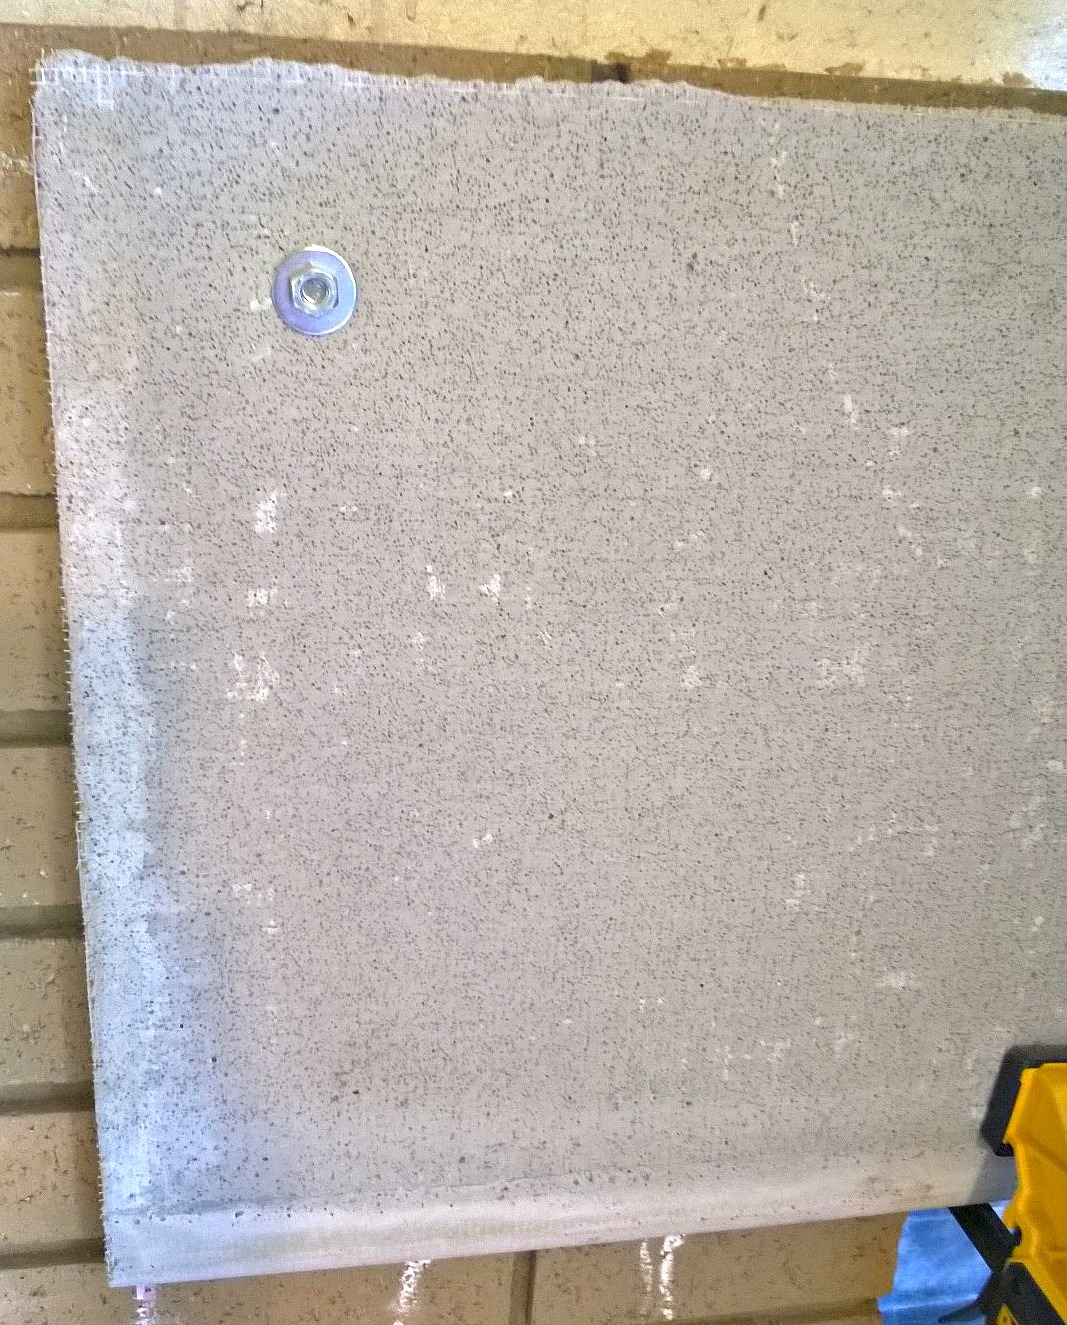
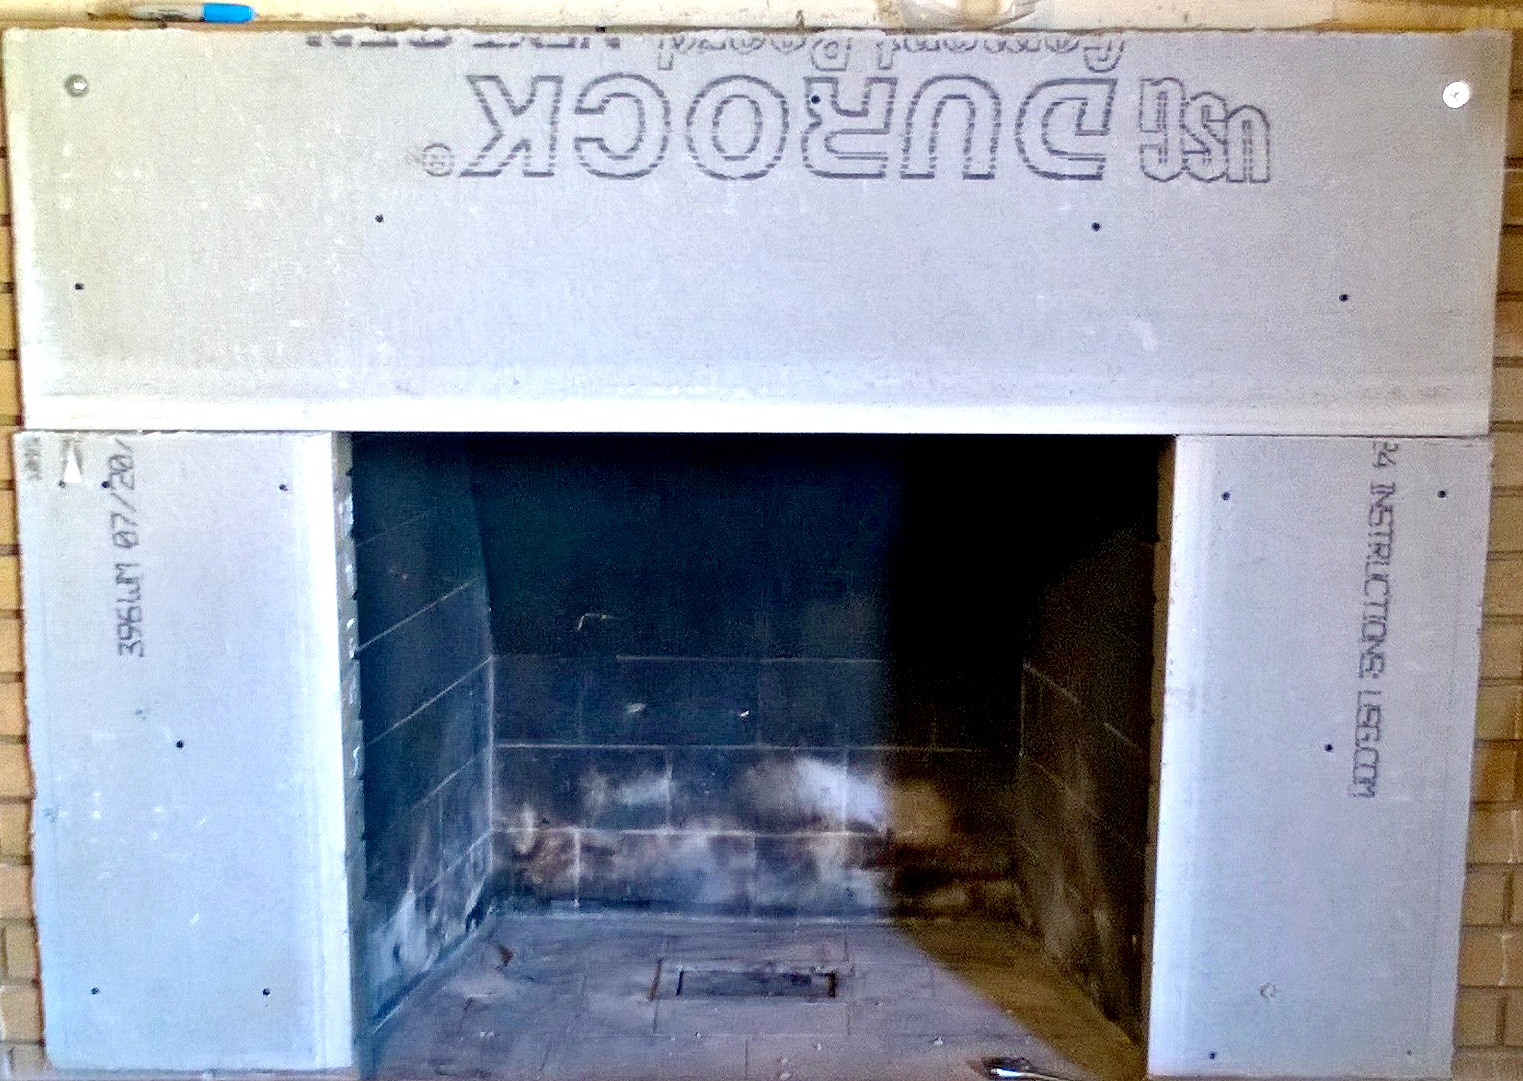
We secured the QEP backer board to the remaining brick by using cement screws and the expanding bolts. We did this to make it so the tile would stick more securely to the front of our fireplace. We later read that you can just put tile right onto the brick and it will work just fine.
Make sure to keep clean the surfaces that you will be adding your tile to because you never know if a little dust will cause your tile not to stick.
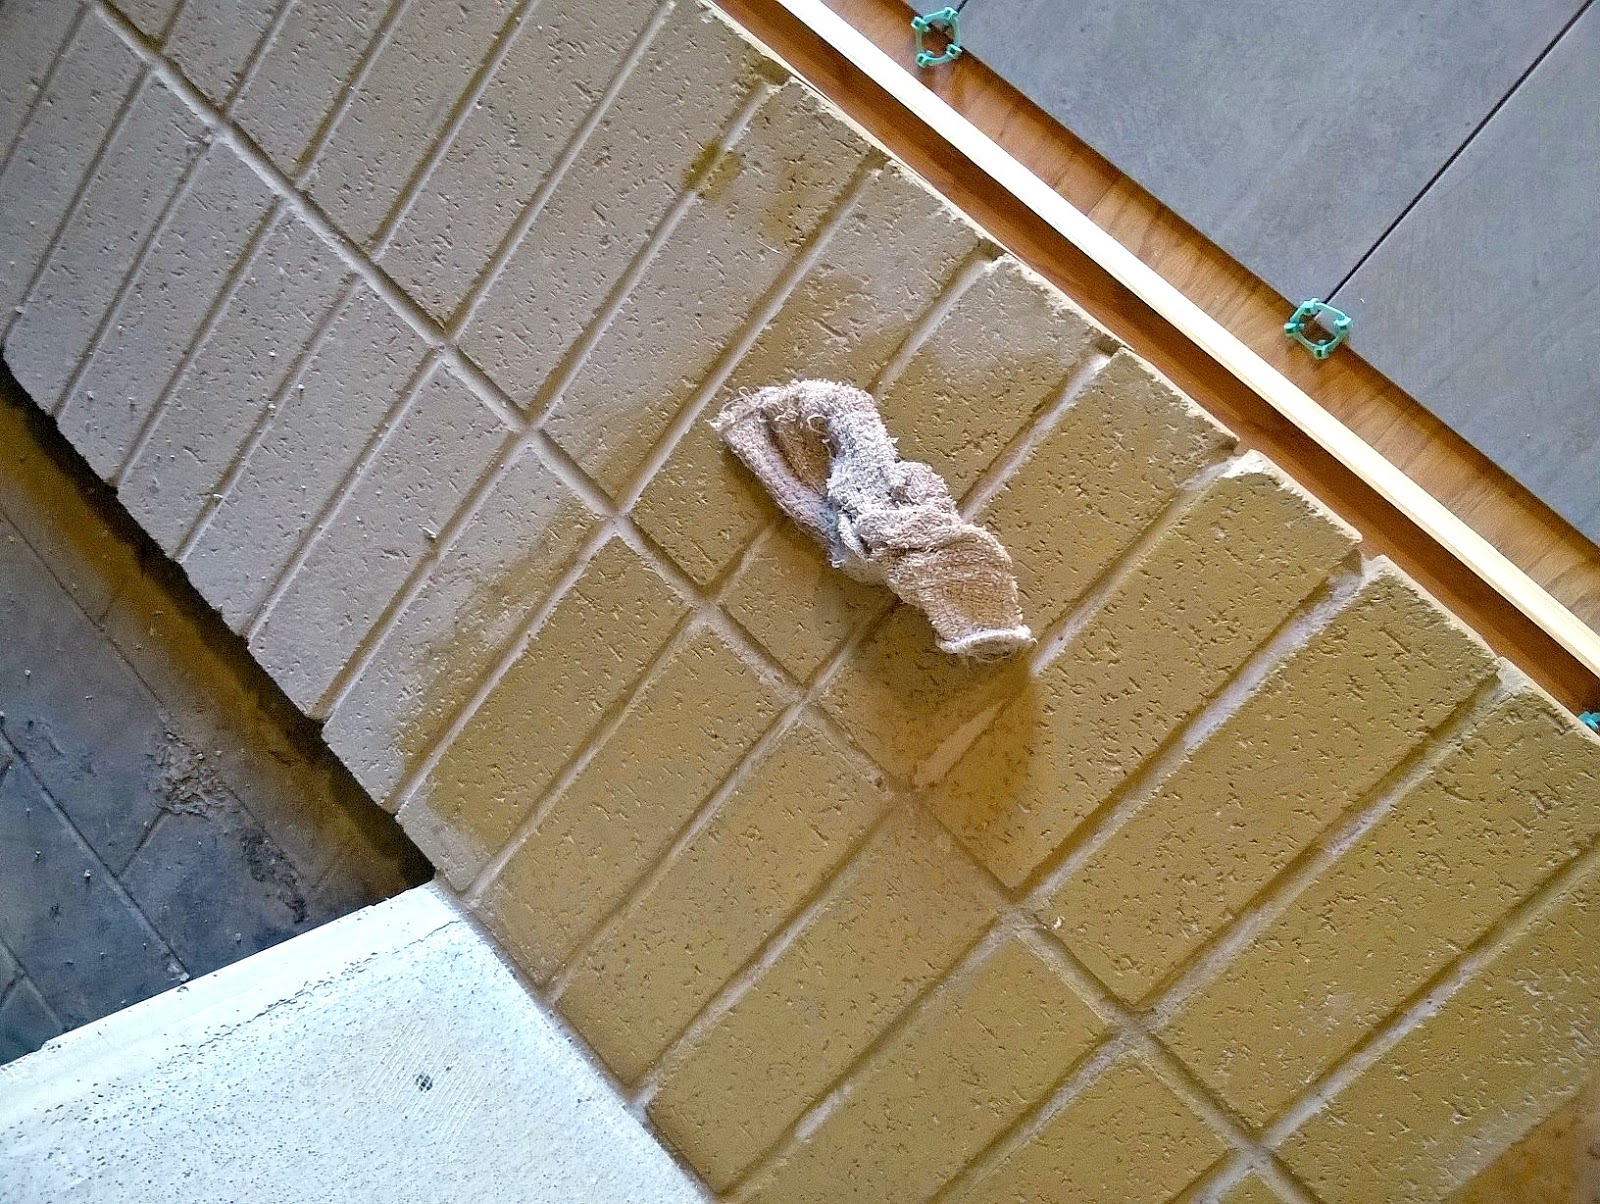
On the hearth, we used slate tile to cover the brick. The boys measured the area and then laid them on the floor with spacers to make sure of the fit.
Once we knew the measurements, Zac cut off two of the tiles to make the tile fit correctly. We bought a tile cutter from Home Depot a couple of years ago and it has made it easier to do projects with tile.
Using the 2 x 4’s, Matt constructed the boxes for the frame of the fireplace, and then used the MBF board for the front of the boxes. We used a nail gun that made the process a lot more efficient.
I wanted pretty tile for the front of my fireplace and I found the tile of my dreams. I was so excited that I found what I wanted but the boys of my family weren’t as excited. They suggest if you aren’t a pro at tile to stick to square tile because it makes it easier to get a more finished look. Also, they started the tile at the top of the opening of the fireplace and Zac suggests that you start at the bottom because the tile will stick better. Make sure to plan it out, you will thank yourself later!
To place the tile onto the fireplace, you will use the mortar to stick it to the front, with a putty knife apply liberally onto the front of the fireplace and then some onto the tile piece. Using tile spacers, you can get the same spacing between tile pieces. Let sit up to 48 hours before adding the grout. Apply the grout in small areas and then with a sponge wipe off the area. It dries quickly and you won’t be able to clean off your tile pieces if you apply to a big area.
After the tile was dry, we added the boxes to make the frame. Securing it with finishing nails.
The mantel front was a piece of crown molding secured at an angle, and then a piece of wood was placed on top to finish it off.
After all the trim was added, we made sure all the nails were in deep enough, and then each hole was filled with wood putty. We also used wood putty to fill in any imperfections in the seams. After it had dried, it was sanded to make the surface smooth.
Tape and cover the tile so you can paint the wood. Trust me, the more time you take to prep your area it will save you time in the long run! We sprayed the fireplace with paint. If you don’t use a primer it will take a couple of coats of paint.
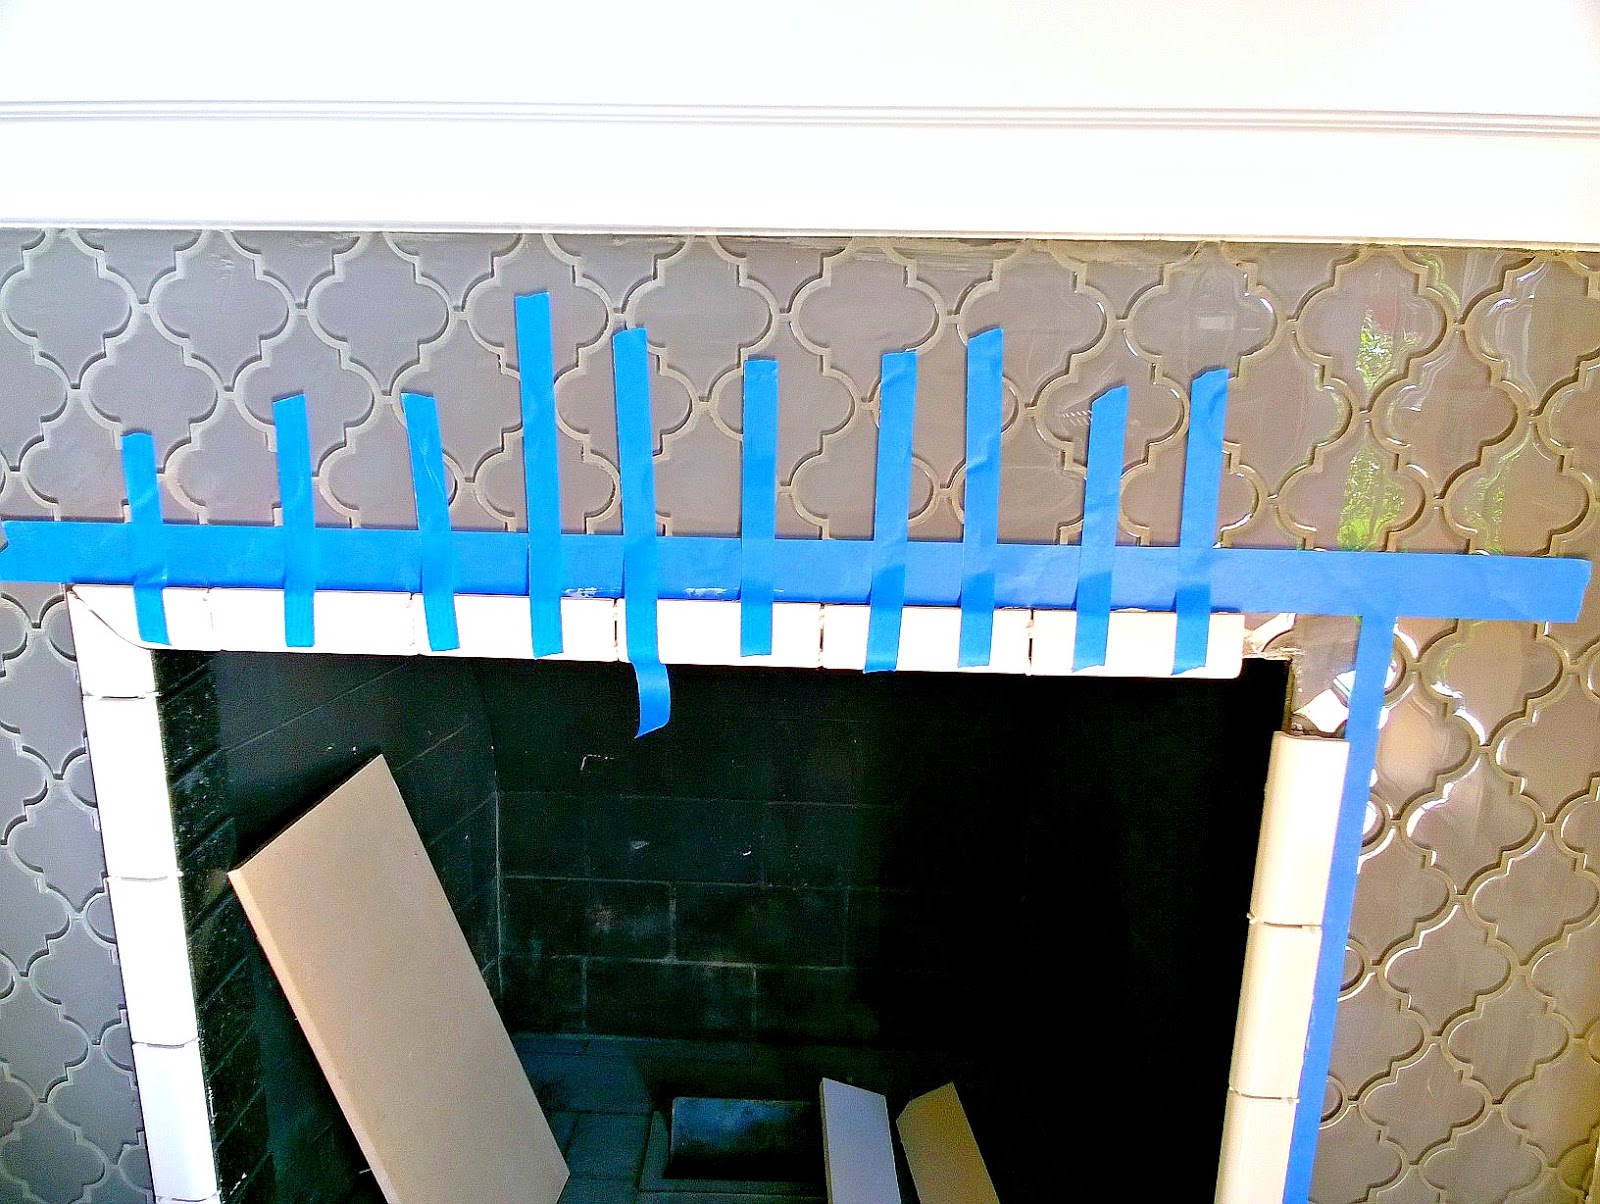
Since we aren’t experts at tile, we needed to add a border around the opening of the fireplace. We found pieces that already had a lip that gave it the finishing touch. As you can see, we needed to use blue painter’s tape to secure our top pieces while it dried and we used an adhesive to get it to stick the tile. Let it dry and then add grout to the seams. When it’s all done, it’s time to add the finishing touches, and put your signature style to work!
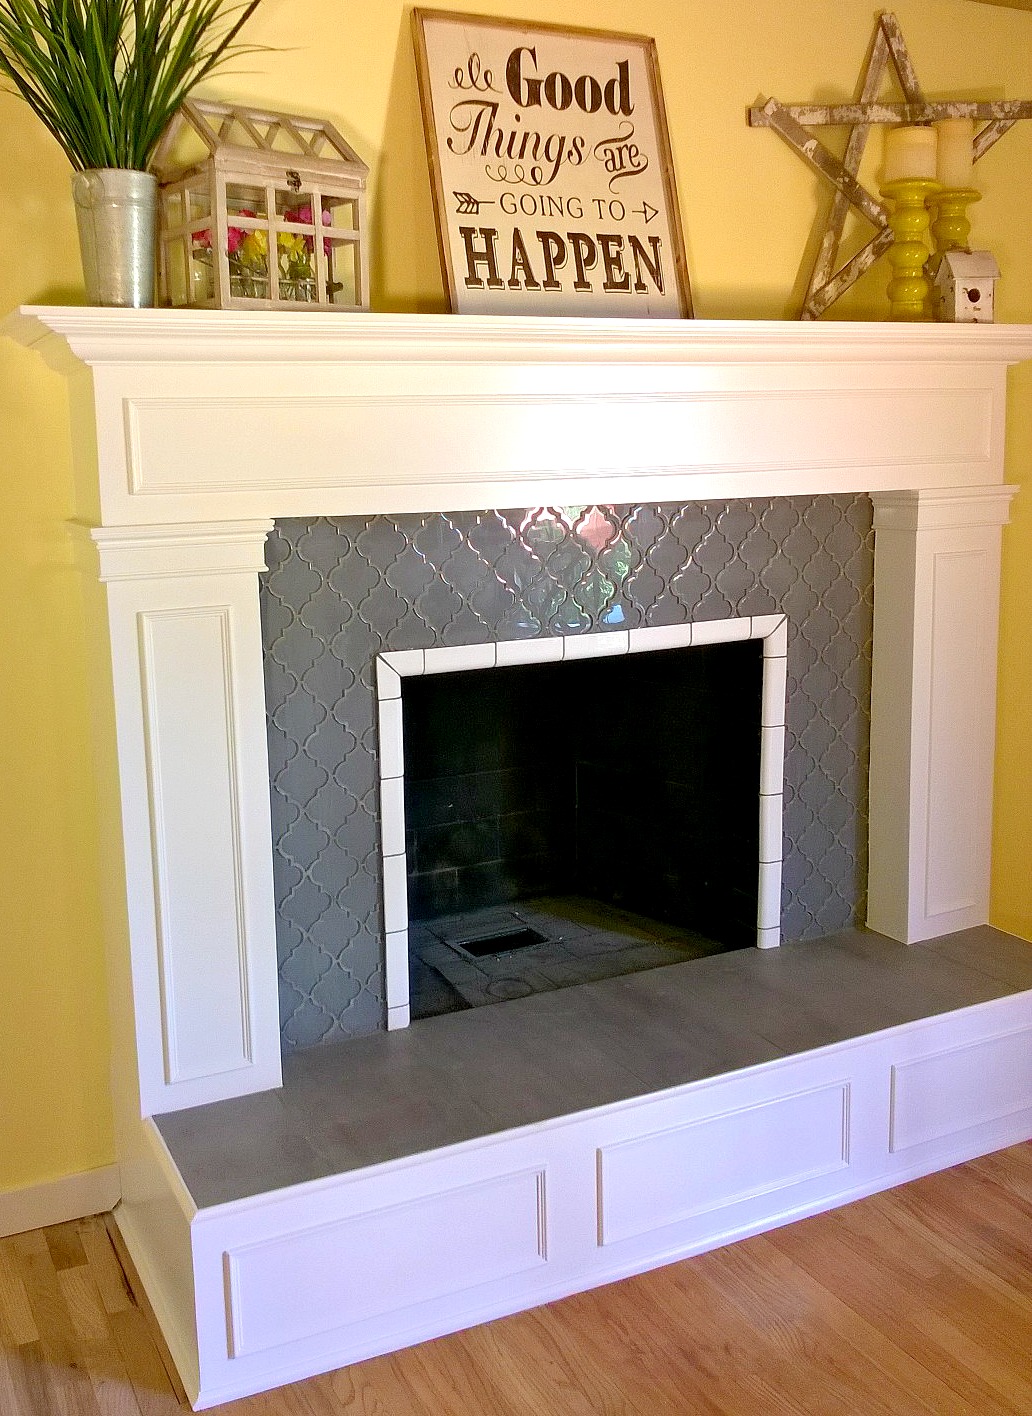
This project was a learning experience for the whole family but boy has it made a difference to that part of my house! It’s amazing how something that never stood out before can turn into such a show stopper. My fireplace is so happy that we showed it some love!


 Your Closest CHEERLEADERS!
 We are your big sisters , cheerleaders , and confidence boosters in building a happy home. We are the Lou Lou Girls!


Holy crap! I wasn't expecting the before to look like that when I clicked on this!! That is night and day difference!! Fantastic job.
Thank you! I'm loving it!
Your fireplace is absolutely beautiful!! I'm following you from Paula's No-Rules Blog Party. 🙂
It looks lovely. I love your choice in tile. We have an older house with lots of quirks. When we do home improvement projects, it's always a crap shoot as to if things will go as planned or not. Thank you for linking up to Tips and Tricks. Hope to see you again this week. Kathleen @ Fearlessly Creative Mammas
Oh my goodness, what a transformation! Your fireplace looks just gorgeous and I love that you were able to do it yourself. Pinned. Thank you for sharing with us at the Hearth and Soul Hop.
Pretty transformation! Thanks for sharing at Home Sweet Home!
Beautiful! You did a great job on your fireplace renovation. Thanks for sharing it and come back to the party next week. #HomeMattersParty