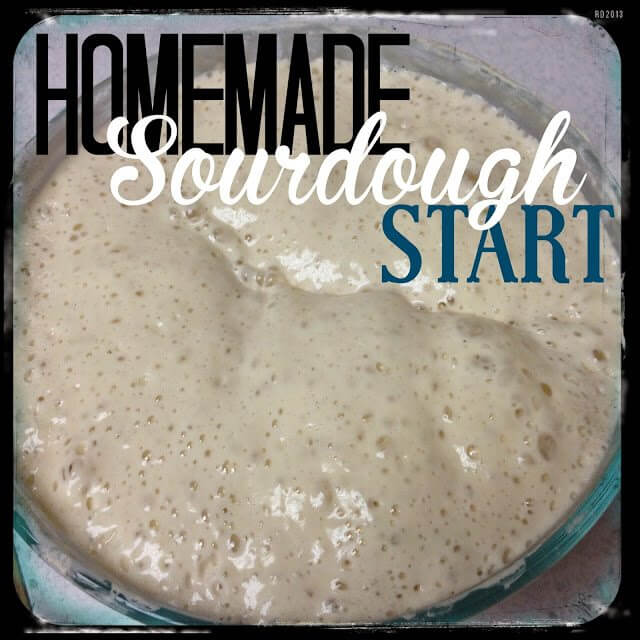
Homemade Sourdough Start

Lately, Matt and I have been in a bread making mood. I love to bake so much! I love sour dough bread and I haven’t been super successful in making a way good loaf. Don’t worry, I never give up. Matt made this start once before but he used our plastic Tupperware and I don’t think the start smelled or worked as good. This start was great but I only used Pyrex glass bowls that had a matching lid.
I always feel super wasteful when I make a sourdough start, so once you get it going instead of throwing it out you can share it with a neighbor. Here is my start.
Homemade Sourdough Start
Day 1:
Combine 4 ounces (about just under 1 cup) whole rye flour with 4 ounces (about 1/2
cup) cool water in a non-reactive container. No need for yeast, this allows for the start to build natural yeast. I only used glass, I’m not sure
what else works.
Combine 4 ounces (about just under 1 cup) whole rye flour with 4 ounces (about 1/2
cup) cool water in a non-reactive container. No need for yeast, this allows for the start to build natural yeast. I only used glass, I’m not sure
what else works.
I used rye flour, because that’s what we
had in our kitchen, but it is only used in the beginning. Whole grains contain
more nutrients and make it easier for the microorganisms to grow than all
purpose or bread flour.
had in our kitchen, but it is only used in the beginning. Whole grains contain
more nutrients and make it easier for the microorganisms to grow than all
purpose or bread flour.
Stir everything together thoroughly;
make sure there’s no dry flour anywhere. Cover the container loosely and let
the mixture sit at warm room temperature (about 70°F) for 24 hours.
make sure there’s no dry flour anywhere. Cover the container loosely and let
the mixture sit at warm room temperature (about 70°F) for 24 hours.
Now in the winter our house gets really
cold and we found out that we had to find the warmest places to put our start,
such as on the dryer, on the fridge or by the oven.
cold and we found out that we had to find the warmest places to put our start,
such as on the dryer, on the fridge or by the oven.
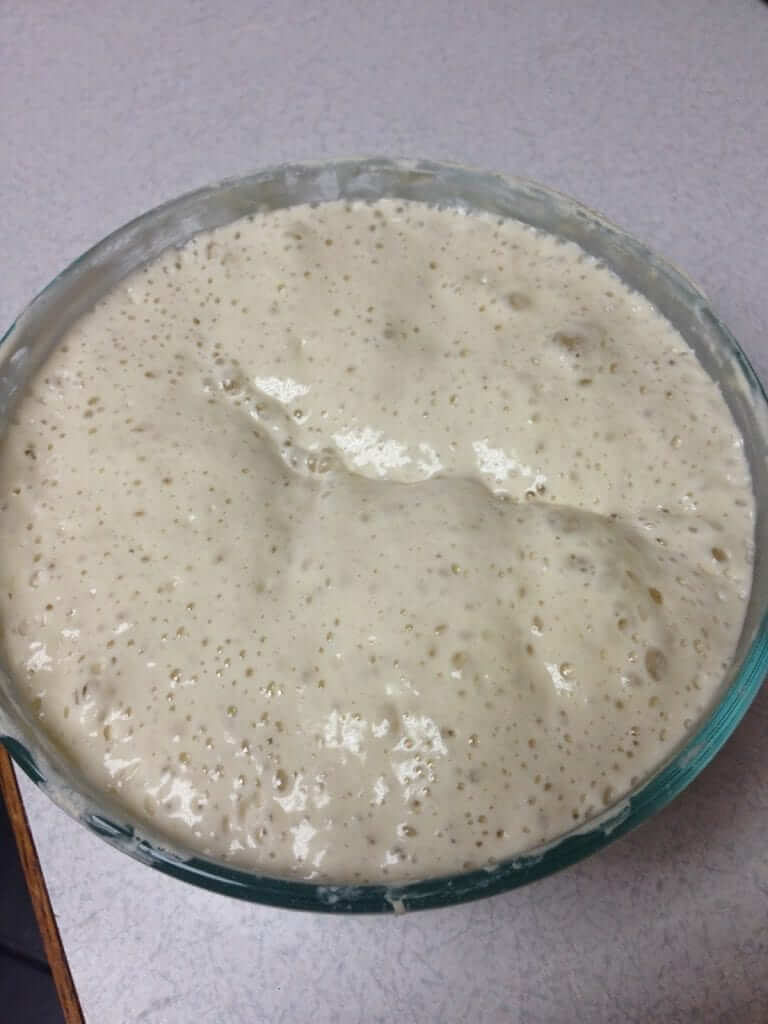
This is what it looked like after mixing it all together.

Day 2: You
may see no change at all in the first 24 hours, or you may see a bit of growth
or bubbling.
may see no change at all in the first 24 hours, or you may see a bit of growth
or bubbling.
Even if you haven’t seen any change
discard half of the start. You should only have 4 ounces left, then add 4
ounces of bread flour (scant cup) and 4 ounces of cool water.
discard half of the start. You should only have 4 ounces left, then add 4
ounces of bread flour (scant cup) and 4 ounces of cool water.
Mix well, make sure you have no dry
flour in the bowl. I mix mine with a rubber spatula. Let the mixture rest at
room temperature for 24 hours.
flour in the bowl. I mix mine with a rubber spatula. Let the mixture rest at
room temperature for 24 hours.
This is what the mixture looked like after I cut it in half and mixed it up.
Homemade Sourdough Start

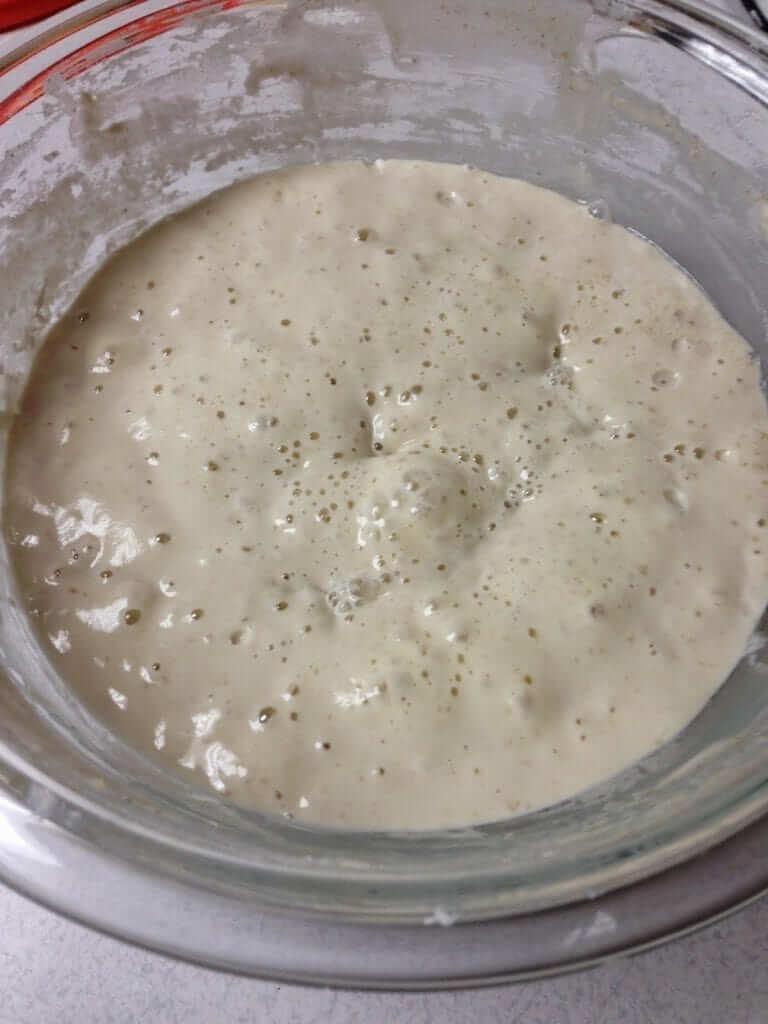
This is what it looked like after 24 hours.
Days 3, 4, & 5:
By the third day you will see the picture above. It should be bubbling and
start to smell good. The first 2 days it smelled awful so don’t be concerned.
Now you are going to feed it every 12 hours, just as the directions above.
By the third day you will see the picture above. It should be bubbling and
start to smell good. The first 2 days it smelled awful so don’t be concerned.
Now you are going to feed it every 12 hours, just as the directions above.
First thing to do now is stir the start
so that most of the air is out of the start. Then weigh out about 4 ounces of
start and mix it with 4 ounces of bread flour and 4 ounces of water.
so that most of the air is out of the start. Then weigh out about 4 ounces of
start and mix it with 4 ounces of bread flour and 4 ounces of water.
Let it rest at room temperature for 12
hours and repeat. Do this for day 4 and 5 until the start is very active,
doubling in size every 12 hours or less.
hours and repeat. Do this for day 4 and 5 until the start is very active,
doubling in size every 12 hours or less.
It should be ready for use after about a week on this schedule.
When you feed it, it now has the consistency of pancake or waffle batter and it looks like this.
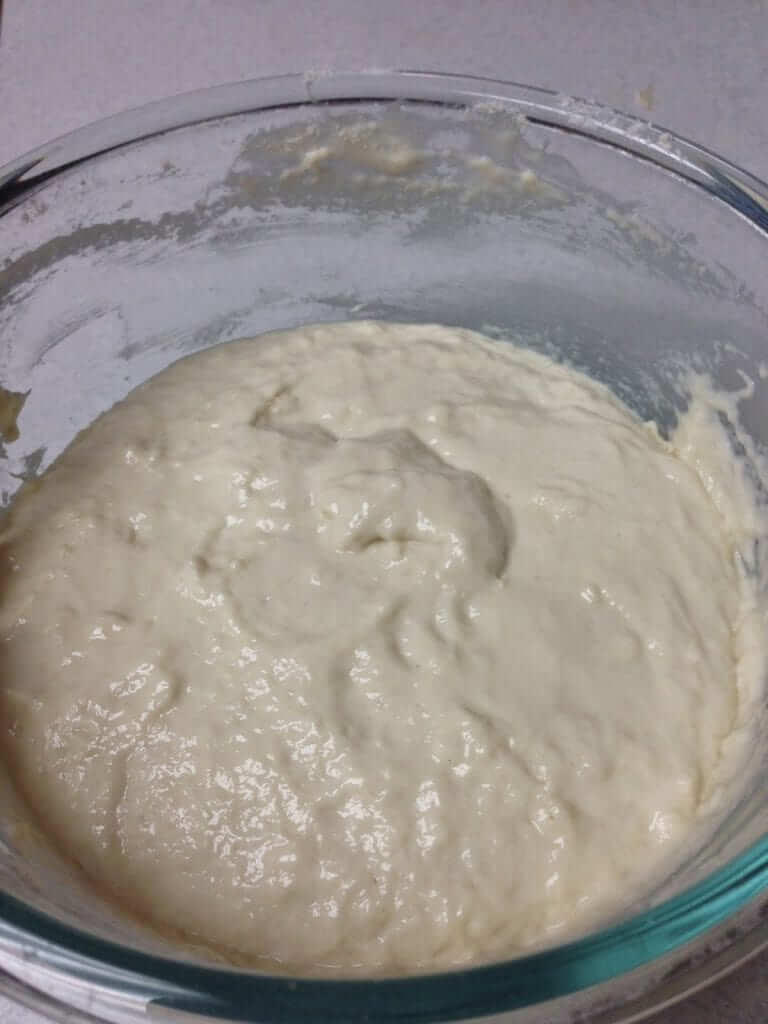
This is what it looks like after day six.
Maintaining the Start:
Now I know I don’t have time to keep up this routine everyday, so once you have used the start, take the left over start (4 ounces), feed it, and let it sit for about 2 hours. Then seal the start tight with a lid and put it in the fridge.
Then once a week you will want to drain off any fluid, and cut out all but 4 ounces of the start and feed it 4 ounces of flour and 4 ounces of water. Let it set out for about 2-3 hours and then put it back in the fridge.
Good Luck!!
Homemade Sourdough Start
 Your Closest CHEERLEADERS!
 We are your big sisters , cheerleaders , and confidence boosters in building a happy home. We are the Lou Lou Girls!


We love sour dough bread, but I've never tried making my own. This might be one of my summer projects to tackle. Pinned to give this a try.
I have had, and thrown away, so many starts. I will try this recipe. I think the trick is to use it often. I know that you should never use metal sourdough, so glass, crockery and wooden spoons are best for storing and mixing. Thank you for this recipe….pinned! Kathi
I love sourdough bread, but I have only made it when someone gave me a start!! What a great post. Thank you for sharing!! Will use this!